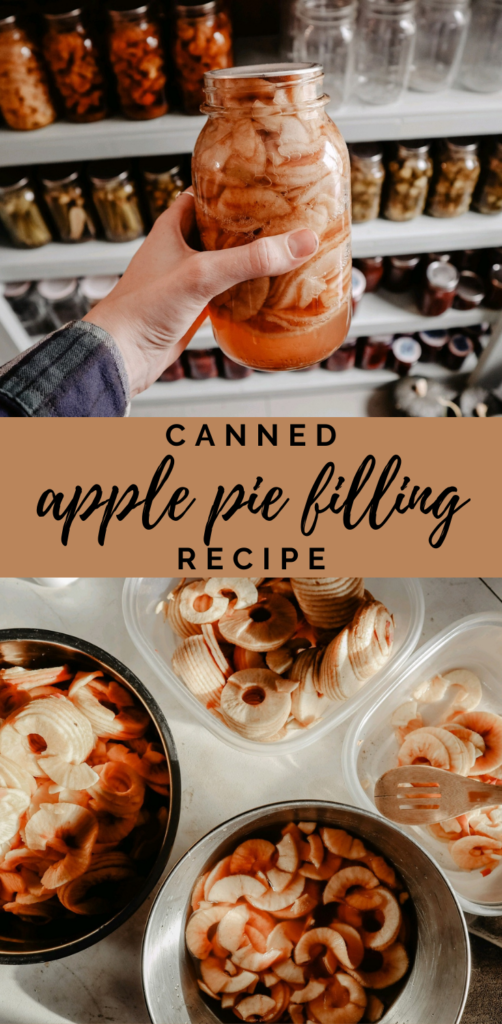
Canned Apple Pie Filling Recipe
This post may contain affiliate links. Read my disclosure policy here.
Jump to RecipeIt is the season for canning.
I always love this time of year.
Out in the cool fall weather harvesting apples from my grandparent’s 24 acre orchard.
Bringing it back into my kitchen and preserving it in all the ways my family enjoys.
Saving it up for the long Montana winters.
When there is snow on the ground our family will be sitting by the fireplace eating some homemade apple pies and drinking coffee. Home canned, with apples that I went out and harvested myself.
The hard work of the summer and fall being enjoyed all winter long.
Doesn’t get better than that!
It’s just so satisfying.
Watch this on YouTube!
Canned Apple Pie Filling Recipe
- 12 cups sliced peeled, and cored apples
- 2 and 3/4 cups raw cane sugar
- 1 1/2 teaspoons cinnamon
- 1/2 teaspoon nutmeg
- 1/2 teaspoon ginger
- 3 and 3/4 cups water
- 1/2 cup lemon juice
So, first thang y’all are gonna do, is get all your apples washed, peeled, cored and sliced.
This is exponentially easier to do with an apple peeler/corer/slicer machine. Which thankfully my mom has one and she let me borrow it! But if you don’t have one you can still totally do it by hand, it’ll just take a bit longer.

After they are all prepared, you are going to blanch them for 1 minute, in small batches. So just get a pot of water boiling, dump in a batch of apple slices, and then scoop them back out after a minute. This will help them stay firm after canning, otherwise, they can get pretty mushy.
In a large pot, combine all the sugar, spices, lemon juice and water. Bring to a boil over medium-high heat (just not a super hard boil), remembering to stir it, and boil for 5 minutes.
For the lemon juice you generally want to use bottled juice for canning because the acidity is consistent, but I have used freshly squeezed and had it last just fine
Make sure you have all your canning supplies ready, like your funnel, ladle, jars, lids, etc. Fill the canner with water and add a splash of vinegar to keep the hard water deposits off your jars.
Turn off the burner and add all your apples into the syrup, gently folding them into the mixture.
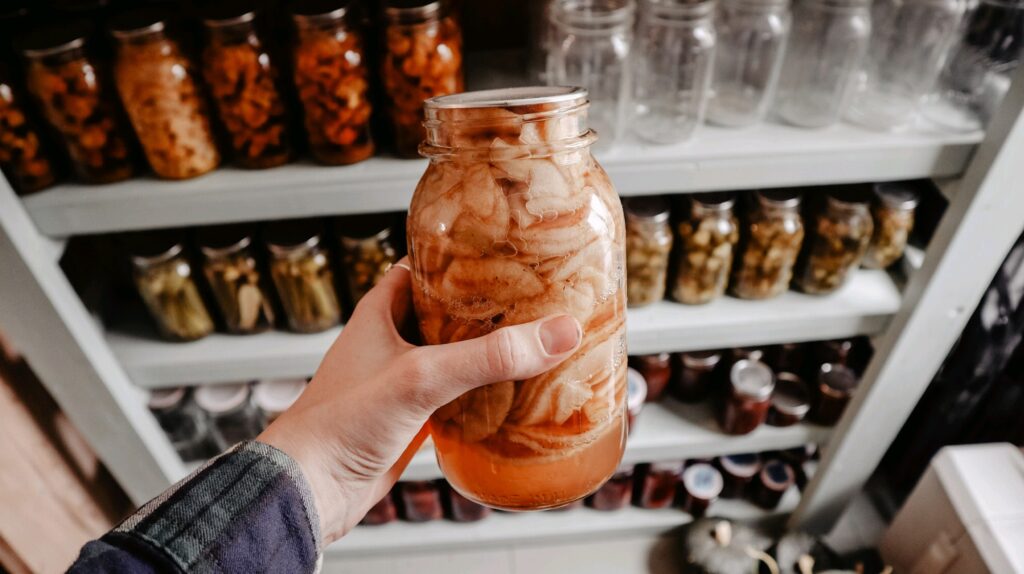
Then it’s time to ladle them into your jars. Using a canning funnel and ladle, scoop em all in leaving 1/2 inch headspace (plus 1/4 inch if you are using tattler lids).
Time to can em!
Wipe the rims and adjust your lids. Lower into your water bath canner. I actually use a pressure canner for water bath canning and just don’t tighten on the lid.
Turn the burner on and bring the canner to a boil. Process both pints and quarts for 35 minutes. We are at 3,500 altitude so if you are at a different one you’ll need to process for a different amount of time.
| Process Time at Altitudes of | |||||
| Style of Pack | Jar Size | 0 – 1,000 ft | 1,001 – 3,000 ft | 3,001 – 6,000 ft | Above 6,000 ft |
| Hot | Pints or Quarts | 25 min | 30 | 35 | 40 |
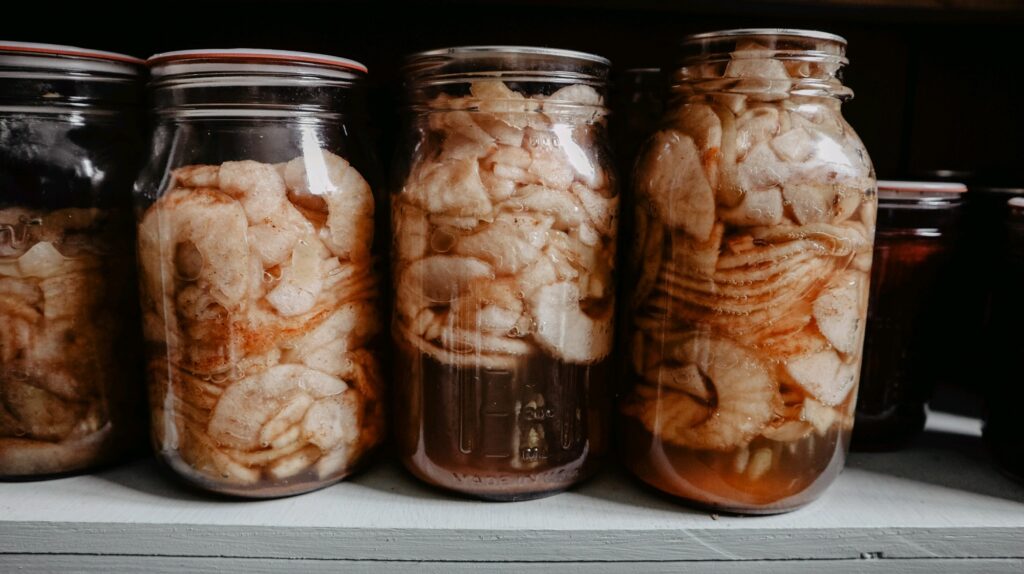
Liquid loss
Apple canning recipes are notorious for siphoning liquid.
I don’t know what it is, but sometimes it seems like the liquid just doesn’t want to stay put!
Especially with tattler lids I’ve had a lot more of an issue with it.
Just make sure you’re following the lid instructions carefully. And as long as it has 50% contents or more, then it’s safe to keep. It might turn browner and discolor a bit, but it’ll be fine if the lid is still sealed.
But if it has less than 50% it won’t keep, so either use it right away or put it in the freezer.
Instructions for baking
Because we didn’t use something like cornstarch or ClearJel for this recipe you will need to add some thickener when you go to bake this.
At baking time, drain 1/3 cup of the liquid from the jar into a small saucepan, whisk in 5 1/2 tablespoons arrowroot powder (or 3 tablespoons of cornstarch) until combined. Add the rest of the jar and bring to a boil over medium-high heat. Simmer for 1 minute.
Then it is ready to bake in pie crusts or as an apple crisp as usual. Just follow the instructions for the recipe you’re using.

And blessings!
Pin it for later!
Canned apple pie filling recipe
Ingredients
- 12 cups sliced peeled, and cored apples
- 2 3/4 cups cane sugar
- 1 tsp cinnamon
- 1/2 tsp nutmeg
- 1/2 tsp ginger
- 3 3/4 cups water
- 1/2 cup lemon juice
Instructions
- So, first thang y'all are gonna do, is get all your apples washed, peeled, cored and sliced.
- After they are all prepared, you are going to blanch them for 1 minute, in small batches. So just get a pot of water boiling, dump in a batch of apple slices, and then scoop them back out after a minute. This will help them stay firm after canning, otherwise, they can get pretty mushy.
- In a large pot, combine all the sugar, spices, lemon juice and water. Bring to a boil over medium-high heat (just not a super hard boil), remembering to stir it, and boil for 5 minutes.
- You generally want to use bottled lemon juice for canning because the acidity is consistent.
- Make sure you have all your canning supplies ready, like your funnel, ladle, jars, lids, etc. Fill the canner with water and add a splash of vinegar to keep the hard water deposits off your jars.
- Turn off the burner and add all your apples into the syrup, gently folding them into the mixture.
- Then it's time to ladle them into your jars. Using a canning funnel and ladle, scoop em all in leaving 1/2 inch headspace (plus 1/4 inch if you are using tattler lids).
- Wipe the rims and adjust your lids. Lower into your water bath canner. I actually use a pressure canner for water bath canning and just don't tighten on the lid.
- Turn the burner on and bring the canner to a boil. Process pints and quarts for 35 minutes. We are at 3,500 altitude so if you are at a different altitude you'll need to change the canning time.
Hi there to all, how is all, I think every one is getting more from this site, and your views are fastidious designed for new people. Flossie Jeth Codel
Here is a superb Blog You might Come across Intriguing that we encourage you to visit. Gipsy Pepe Arlinda
This recipe worked great for me! Easy peazy. I used a premix apple pie spice blend from Azure. The filling is delicious!