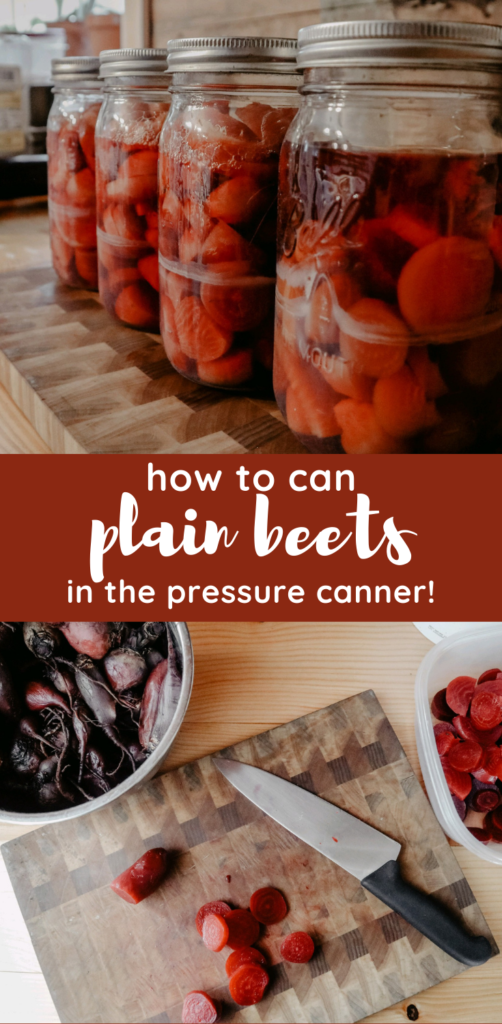
How To Can Plain Beets
This post may contain affiliate links. Read my disclosure policy here.
Jump to RecipeBeets are a favorite around these parts.
My husband loves having them in the soups I make for his lunches.
They were one of Sofia’s first foods and they’re still one of her favorites. And they will be one of Dimi’s first foods as well.
We do love pickled beets of course, and canning those brings back lovely memories of helping my grandma can in her kitchen years ago. But we also like to can the majority of our beets plain, just with salt. I find they can be used in more of my dishes that way.
So it is always a no-brainer for us to grow a lot of them in our garden every year, and also to preserve as many as we are able to.
We aren’t able to grow the amount we would like for the whole year yet, so we buy extra beets in bulk from local stores or farmers.
Our favorite way to preserve beets is to can them. We like to leave the freezer space for meat or other things. Plus having them canned means that they are literally just ready to open and dump in a soup or heat up for an easy side dish.
Watch this on YouTube!
Health benefits of beets
I think one of the coolest benefits of eating beets, is that they are so great for your brain.
Beets contain nitrates, which may help increase blood flow to the brain, improve cognitive function, and possibly reduce the risk of dementia.
They are high in dietary fiber, folate, potassium, and manganese. Also, they are a good source of Vitamin C, iron, magnesium, B vitamins and copper.
You just gotta be careful to not eat too many of them if you are prone to kidney stones, are breastfeeding, or have hyperthyroid. Because they can contribute to kidney stones since they are high in oxalates. I actually recently got kidney stones so I’ve been taking it easy on the beets. But my husband and kids eat a ton of em and have no issues with it. So moderation is key and knowing if you have other factors that might contribute to it.
But, they are an excellent and very healthy root to have stored away in your pantry for this winter!
How To Can Plain Beets
An average of 21 pounds (without tops) is needed per canner load of 7 quarts; an average of 13-1/2 pounds is needed per canner load of 9 pints.
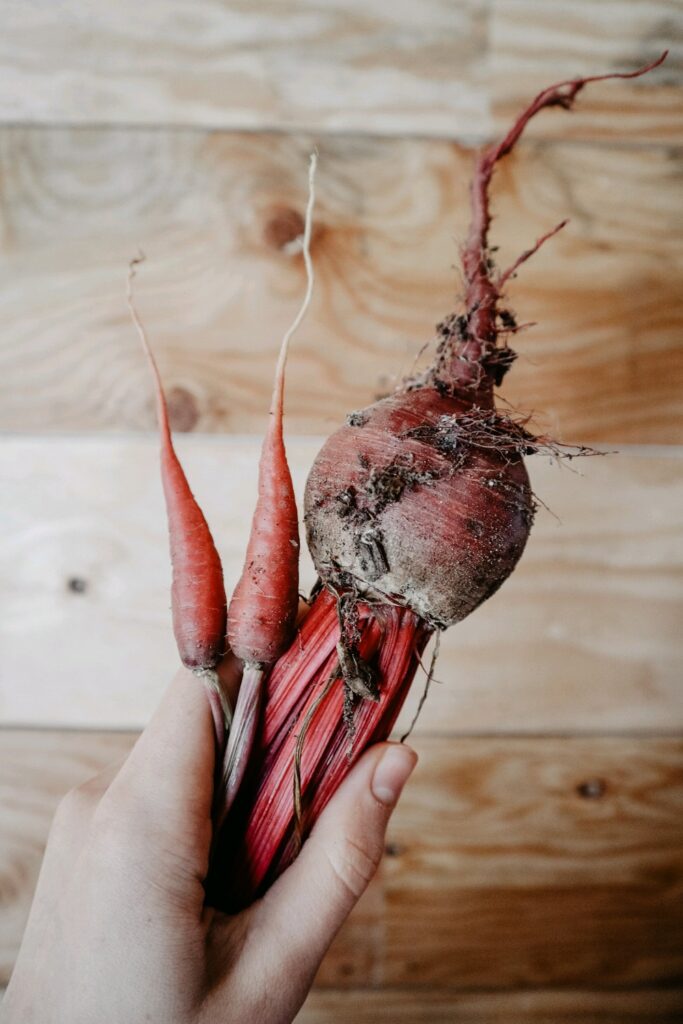
Trim off beet tops, leaving an inch of stem and roots to reduce bleeding of color.
Wash them off. Mine came straight from the garden so I had a lot of dirt to scrub off.
Cook them
Next we are going to cook them just enough so that the skins slip off easily. Most recipes have you do this in a pot on the stove, but I actually prefer to use my instant pot.
Because it is just pressure cooking and not boiling them, it preserves a lot of the nutrients that would otherwise be lost.
You can fill your instant pot all the way up to the top with the beets. I sort them out by size: small, medium, and large. Cook each size separately.
Pour 1 cup of water into your instant pot, put the lid on and set the vent to “sealing”. I just select pressure cook, and then you can set the amount of time.
For small beets cook for 8 minutes, for medium cook for 10 minutes, and for large cook for 15 minutes.
Once the time is up, you can do a manual release. Or if you are not ready to process them yet just let in naturally release and it’ll keep it warm for ya. Either way is just fine.
If you don’t have an instant pot, boil them in a pot on the stove about 15 to 25 minutes depending on size.
While they are cooking, get a kettle of water on the stove to pour over the beets. Put the correct amount of water in you canner for pressure canning (mine takes 4 quarts). Gather up a funnel if you need one (I don’t use it if I’m pouring out of a kettle), and a cloth for wiping the rims. And get your lids in hot water.
Skin them
Now, you can cut off each end and then slip the skins off. They should be really easy to just rub off with your fingers.
I take the tops and skins and feed them to the chickens and then compost what they don’t eat.
Leave small beets whole. Cut medium or large beets into 1/2-inch cubes or slices. Halve or quarter very large slices.
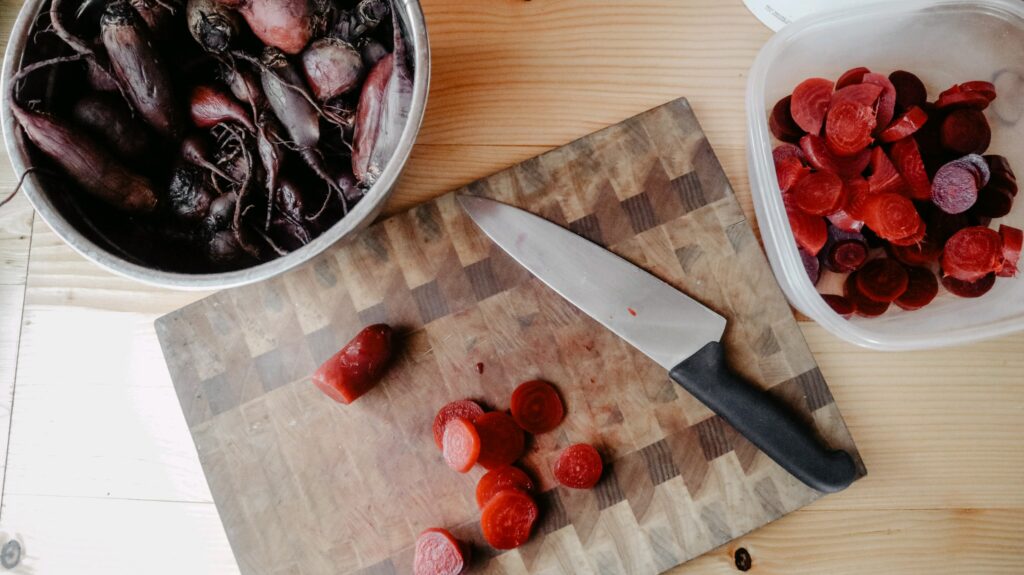
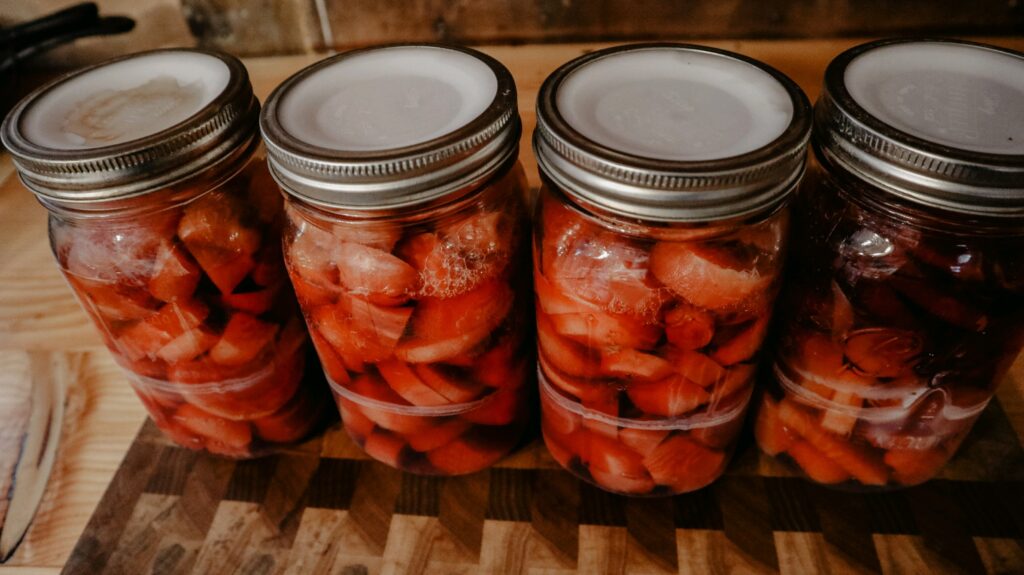
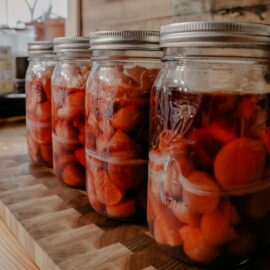
Put them in your jars. I almost always use quart jars, but pints are fine too. I also do either wide or regular mouth for this, whatever I have more of on hand at that point.
You can also add a tsp of salt to your jars with the beets. This is totally optional, it doesn’t affect the safety, just the taste when you open the jars. I pretty much always add the salt when I’m canning vegetables. So if you’d like to add the salt, do 1 tsp for quarts or 1/2 tsp for pints.
Pour in the boiling water from the kettle we heated up earlier, leaving 1 inch of headspace. Plus 1/4 inch if you are using Tattler reusable lids.
Wipe off your rims, and adjust your lids.
Canning them
Lower into the canner with a jar lifter. Tighten on the canner lid and turn on the burner. If you are using tattler lids, you’ll want to bring it up to heat and pressure more slowly.
Once you can see and hear steam coming out of the vent set the timer for 10 minutes.
When the time is up, put the weight on the vent and allow the pressure in the canner to rise.
When it reaches pressure, set your timer for the correct amount of time. We are at 3,500ft elevation, so I set my canner at 12lbs of pressure for 35 minutes for quarts.
| Canner Pressure (PSI) at Altitudes of | ||||||
| Style of Pack | Jar Size | Process Time | 0 – 2,000 ft | 2,001 – 4,000 ft | 4,001 – 6,000 ft | 6,001 – 8,000 ft |
| Hot | Pints | 30 min | 11 lb | 12 lb | 13 lb | 14 lb |
| Quarts | 35 | 11 | 12 | 13 | 14 |
Make sure you keep an eye on the pressure because it will take a little time to regulate and so you’ll have to keep adjusting the burner level.
Once the time is up, just turn off the burner and let the pressure come down.
If you are using regular canning lids, I’ll just leave them there until the canner cools down, or even over-night if I don’t need to do another batch. I get better success with them all sealing. If I’m using tattler reusable lids, I let the pressure come down, take off the weight and let sit for 10 minutes. Take off the canner lid and let it sit for another 10 minutes. Take the jars out and let them sit on the counter until they stop bubbling, or about 10 minutes. Then tighten the rings down as tight as you can with some potholders.
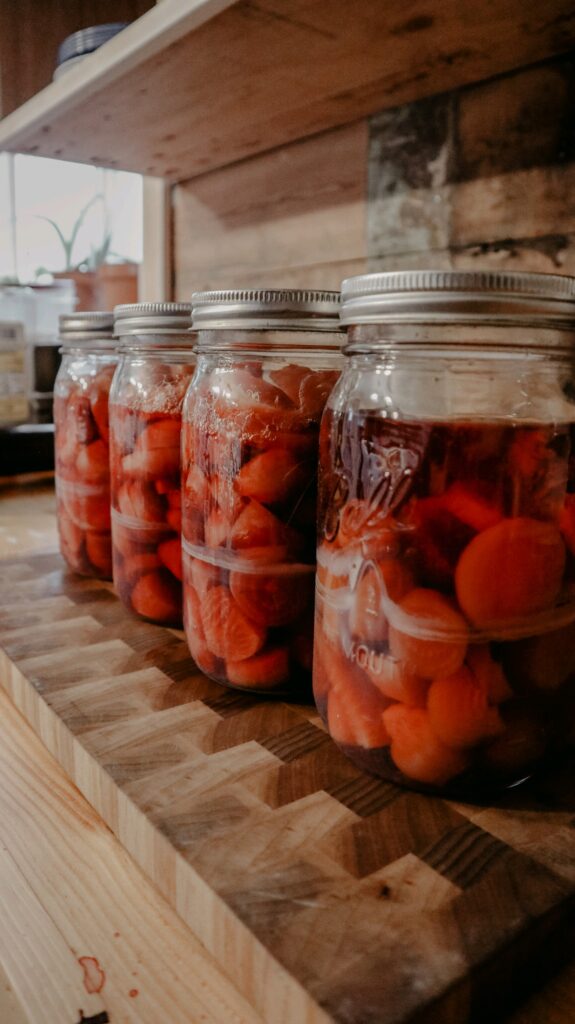
And then you’re all done!
Pressure canning beets is a very time consuming and yet very simple process.
Now ya got some nice brain-powering beets to eat over the winter!
And blessings.
Pin it for later!
How To Can Plain Beets
Canning Plain Beets
Equipment
- Pressure canner
- Canning jars
- Canning lids
- Kettle
- Pot or instant pot
- Knife
- Cutting board
Ingredients
- Beets
- 1 tsp Salt per quart of beets
- Water
Instructions
- An average of 21 pounds (without tops) is needed per canner load of 7 quarts; an average of 13-1/2 pounds is needed per canner load of 9 pints.
- Trim off beet tops, leaving an inch of stem and roots to reduce bleeding of color. Scrub well.
- Next we are going to cook them just enough so that the skins slip off easily. Most recipes have you do this in a pot on the stove, but I actually prefer to use my instant pot. Because it is just pressure cooking and not boiling them, it preserves a lot of the nutrients that would otherwise be lost.
- You can fill your instant pot all the way up to the top with the beets. I sort them out by size: small, medium, and large. Cook each size separately. Pour 1 cup of water into your instant pot, put the lid on and set the vent to “sealing”. I just select pressure cook, and then you can set the amount of time. For small beets cook for 8 minutes, for medium cook for 10 minutes, and for large cook for 15 minutes. Once the time is up, you can do a manual release. Or if you are not ready to process them yet just let in naturally release and it’ll keep it warm for ya. Either way is just fine.
- If you don’t have an instant pot, boil them in a pot on the stove about 15 to 25 minutes depending on size.
- Cool just enough to handle without burning yourself, then remove skins, and trim off stems and roots. The beets should remain warm or hot going into the jars.
- Leave baby beets whole. Cut medium or large beets into 1/2-inch cubes or slices. Halve or quarter very large slices
- Add1 teaspoon of salt per quart to the jar, if desired.
- Fill jars with hot beets and fresh hot water that has been brought to a boil first (not the water you used to boil the beets with), leaving 1-inch headspace.
- Pour in the boiling water from the kettle we heated up earlier, leaving 1 inch of headspace. Plus 1/4 inch if you are using Tattler reusable lids. Wipe off your rims, and adjust your lids.
- When it reaches pressure, set your timer for the correct amount of time. We are at 3,500ft elevation, so I set my canner at 12lbs of pressure for 35 minutes for quarts. See above chart instructions in the blog post for your different pressures and times.
- And you're done!
How To Can Plain Beets
A big thank you for your post. Really looking forward to read more. Great. Selina Shermy Rox
Appreciate the recommendation. Leet me try it out. Julie Bartolomeo Nessim
Question: I made four quarts today using the instantpot method, and I am wondering about the color of the beets now… they went from dark ruby red to light red… is this normal?
The beets that we get canned from the store are always dark red, so I am wondering if you know why this happened and if it changes the flavor at all.??
Any input would be much appreciated…
Thank you!
-Tanya
Yes that’s totally normal, they should still taste delicious 🙂