Tis’ the time of year for canning! And I have become almost canning obsessed! Me and grandma made a day of it by canning some raspberries the other week! This is a wonderful recipe recommended by our friend Wendy. It’s super simple and quick and I absolutely loved the results!
You will need:
- Raspberries
- Water
- Sugar
You use 8 cups of water to 1 cup of sugar. Adjust accordingly for the amount of raspberries you have. For us it made enough for 7 pints of raspberries with a half cup of syrup left over.

Get some jars, lids and rims clean. Make your syrup with the sugar and water and keep at a simmer along with your canner full of water, while you pack your raspberries into the jars. Lightly pack them – you can gently shake the jar to help them settle in more.
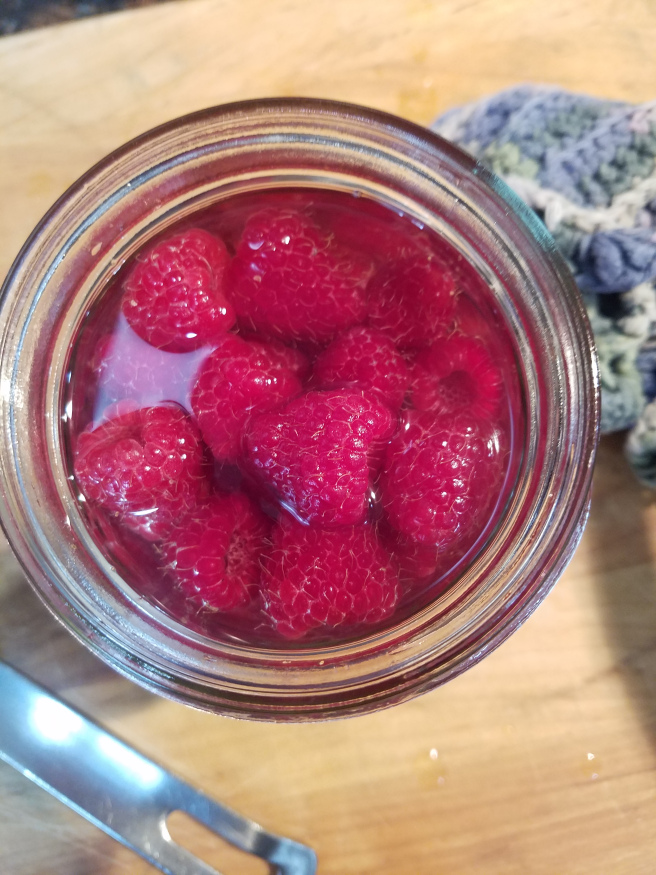
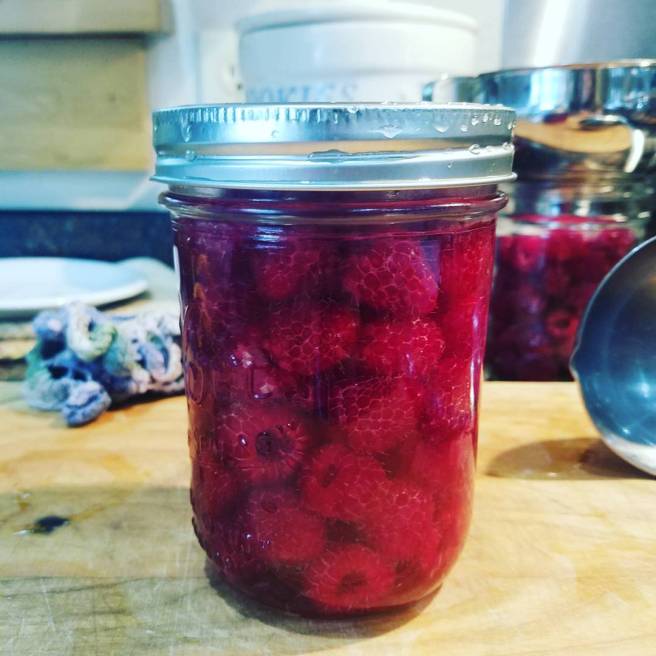
Pour your syrup into each jar (for headspace we just went to the first rim on the jar), wipe the rim off to make sure you don’t have any syrup left to keep your jar from sealing properly, and put your two piece lid on. As soon as you’re done with each jar place it right in your lightly simmering canner before you start on the next jar. This will insure that the liquid in the jar doesn’t cool too much while you’re finishing up the other jars, so your jar doesn’t crack.
Bring your canner to a boil and then process them for 10 minutes.
Gently take your jars out and allow them to cool completely before taking the rims off to store them.
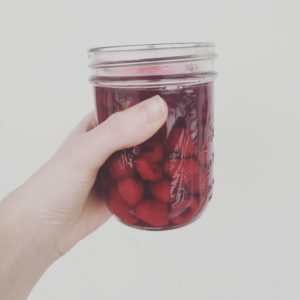
And there ya go! A super easy was to preserve your raspberry harvest! This is amazing over yogurt or ice cream, or even just all by itself!
Canning Raspberries
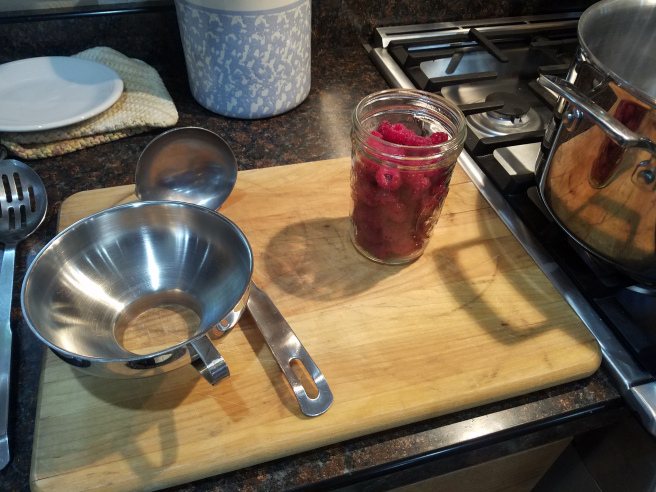
Equipment
- Water bath canner
- Jar lifter
- Pint mason jars
- Wide or narrow mouth lids and rims
- Ladle
- Canning funnel
Ingredients
- Raspberries
- 1 cup Sugar
- 8 cups Water
Instructions
- Get some jars, lids and rims clean.
- Make your syrup with the sugar and water and keep at a simmer along with your canner full of water. You use 8 cups of water to 1 cup of sugar. Adjust accordingly for the amount of raspberries you have. For us it made enough for 7 pints of raspberries with a half cup of syrup left over.
- Pack your raspberries into the jars. Lightly pack them – you can gently shake the jar to help them settle in more.
- Pour your syrup into each jar (for headspace we just went to the first rim on the jar), wipe the rim off to make sure you don’t have any syrup left to keep your jar from sealing properly, and put your two piece lid on.
- As soon as you’re done with each jar place it right in your lightly simmering canner before you start on the next jar.
- Bring your canner to a boil and then process them for 10 minutes.
- Gently take your jars out and allow them to cool completely before taking the rims off to store them.
[…] is especially good with my home-canned raspberries on […]