How To Cure Your Own Bacon At Home
This post may contain affiliate links. Read my disclosure policy here.
Jump to RecipeWe had a sayin’ growing up.
“You’re off the bacon list!”
If someone did something annoying we would playfully tell them that they were getting no more bacon.
Because it is gold in our household.
And it was the worst thing that could happen to a person to be deprived of bacon.
Although it has never happened, it’s still a common saying in our family when we want to tease someone.
I love being involved in how our meat is grown and processed.
People nowadays are so disconnected with where the food they eat comes from. They don’t even realize that bacon in the grocery store comes from a real hog that was raised in confined and inhuman conditions.
Back in the day people knew how to do really cool things.
I mean like really cool.
Like take a piglet and raise it to maturity. Know how to butcher and use every part of the hog. Cure all the meat themselves. Preserve the meat. Render the fat. Use all the organ meats.
Let’s bring that awesomeness back shall we?
A few weeks ago we got a whole hog from a local farmer that we know. And so it was time to cure the bacon and hams. Render the lard. Ya know…all that good stuff.
This has been a top secret family recipe since I was a child. My mama invented it. So all credit goes to her!
But today I am letting you all in on our most prized recipe of all time. People have killed for this recipe. Just kidding (or am I?).
So you’re welcome.
Get this recipe on YouTube!
How To Cure Your Own Bacon At Home
- 2 1/2-lb slab of pork belly
- 2 1/2 tbsp sea salt, or pink Himalayan salt
- 1 1/2 tbsp organic cane sugar
- 1 tbsp black peppercorns
- 1 tsp fennel seed
- 1 tsp caraway seed
- 1 tsp dried rosemary
- 1 tsp dried thyme
- 2 bay leaves
- 1 garlic clove, finely chopped
Step one:
Weigh out the pork belly slabs so you can figure out how much of the other ingredients you need. I had 26lbs of pork belly. So I divided it by 2.5 (the amount of pork belly called for in the recipe). That came out to 10.4. So I multiplied everything by the 10.4 to get the correct amount of ingredients.
Tada!
Yes, Luke helped me with that. I hate math.
Step two:
Measure out the correct amount of salt, sugar, and spices (everything besides the pork) out into a bowl.
Step three:
Cut the pork belly slabs into pieces that you can fit into the biggest tupperwares you have. I recommend these ones, but if you only have small containers you can use some gallon ziplock bags.
Step four:
Start rubbing in the salt mixture all over every surface of each pork slab. You want to get it really well coated.
As you rub it into each one you can place that one into a tupperware. If you have some salt mixture leftover at the end, just divide it between all the containers and dump it on top of the pork slabs.
Step five:
Put the lids tightly on all the containers and place them in the refrigerator. Each day you flip the tupperwares over. They stay in the fridge for 7 days, being turned over once a day.
Now it’s time to smoke the bacon!
Step one:
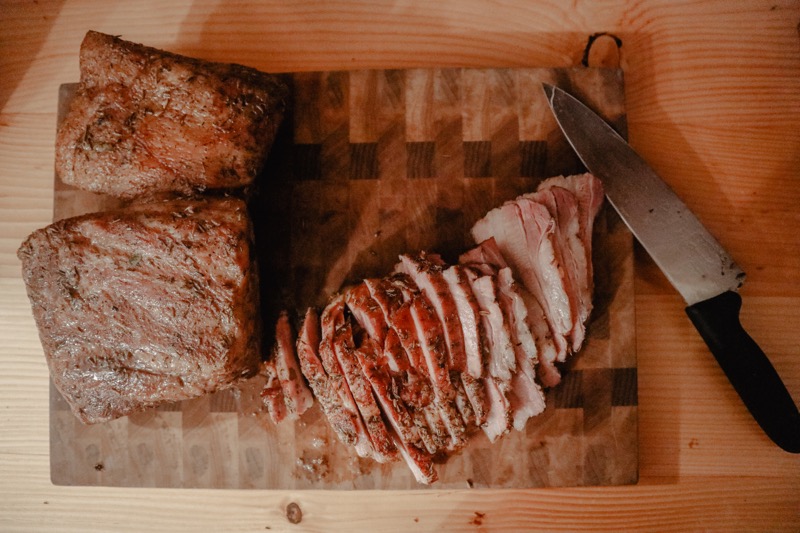
Take all the bacon out of the tupperwares and rinse them all off. You don’t have to be too thorough. Leaving some of the seasonings on will be fine, and will make the smoking process even better.
Step two:
Let the bacon slabs sit out and dry for 30 minutes or so, so they aren’t soaked when going in the smoker. I had to do mine in two batches, so I ended up leaving the second batch out to dry quite a long time.
Step three: smoking
Get your smoker all ready and the temperature up to 200 to 225 F. We especially love to use hickory wood / pellets in the smoker, it gives it the most wonderful flavor! My mom has a fancy traeger smoker that she always lets me come over and use. So me and the kids hang out over at grandma’s house while all my bacon smoked!
Leave the bacon in the smoker until the internal temperature comes up to 165 F.
Step four:
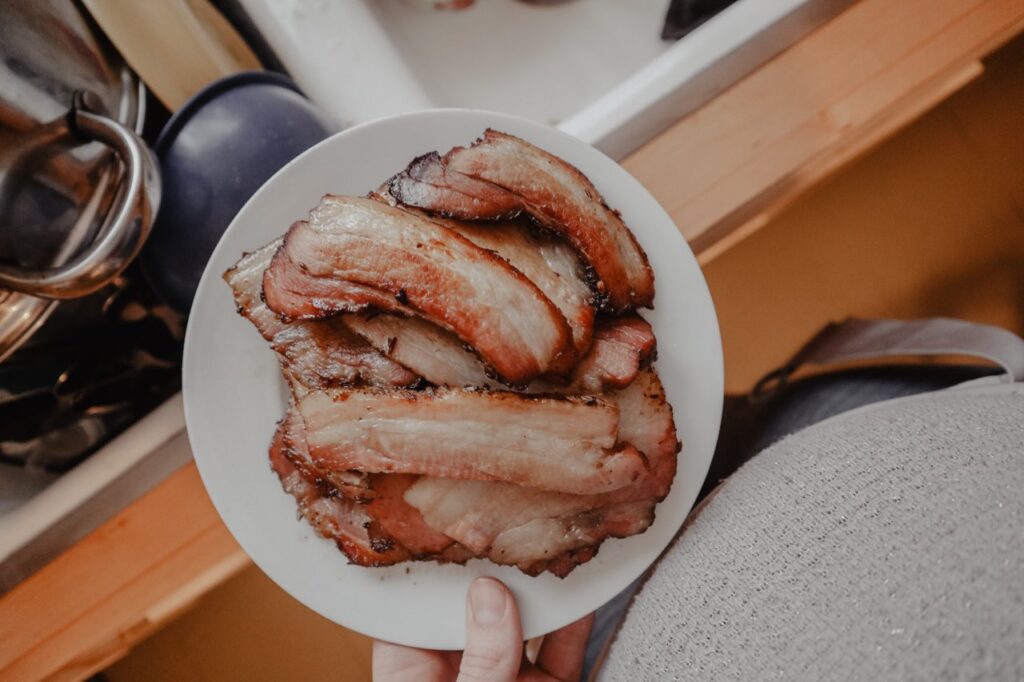
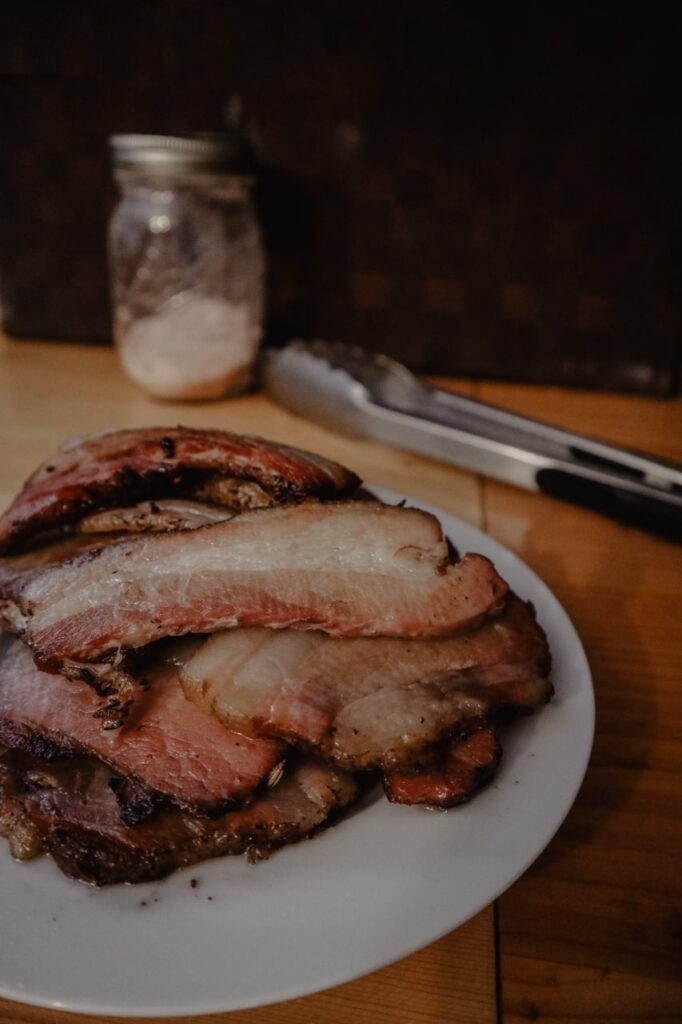
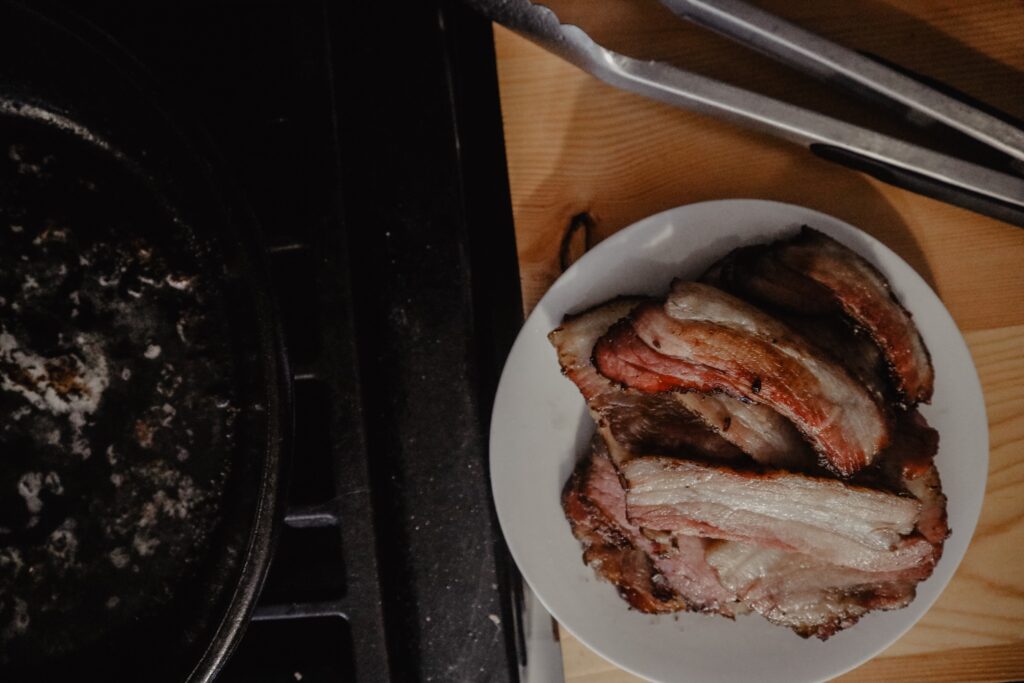
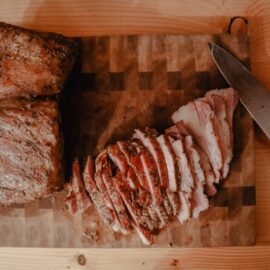
Take all the bacon out of the smoker and let it cool. Now it’s time to slice it up!
Our family especially loves thickly sliced bacon. Just the more you get per slice. More bacon is always better.
Step five:
I like to weigh out the bacon into 1lb packages. Get them all packaged and then stick em in the freezer. That seems like just about the perfect amount for our family of 4 (almost 5).
Seeing all these packages of bacon in our freezer makes me so happy. And it represents something important to me too. It’s hard work. Determination. Grit. Learning. Elbow grease. They represent our homestead. Our family’s journey. The journey to rediscover the old ways. Learning to love good food. Food that has a meaning and a story behind it. That is what makes me happy.
And blessings.
Pin it for later!

How to cure and smoke bacon
Ingredients
- 2 1/2 lbs slab of pork belly
- 2 1/2 tbsp sea salt, or pink Himalayan salt
- 1 1/2 tbsp organic cane sugar
- 1 tbsp black peppercorns
- 1 tsp fennel seed
- 1 tsp caraway seed
- 1 tsp dried rosemary
- 1 tsp dried thyme
- 2 bay leaves
- 1 garlic clove finely chopped
Instructions
Curing
- Weigh out the pork belly slabs so you can figure out how much of the other ingredients you need.
- Measure out the correct amount of salt, sugar, and spices (everything besides the pork) out into a bowl.
- Cut the pork belly slabs into pieces that you can fit into the biggest tupperwares you have.
- Start rubbing in the salt mixture all over every surface of each pork slab. You want to get it really well coated. As you rub it into each one you can place that one into a tupperware. If you have some salt mixture leftover at the end, just divide it between all the containers and dump it on top of the pork slabs.
- Put the lids tightly on all the containers and place them in the refrigerator. Each day you flip the tupperwares over. They stay in the fridge for 7 days, being turned over once a day.
Smoking
- Take all the bacon out of the tupperwares and rinse them all off. You don’t have to be too thorough. Leaving some of the seasonings on will be fine, and will make the smoking process even better.
- Let the bacon slabs sit out and dry for 30 minutes or so, so they aren’t soaked when going in the smoker.
- Get your smoker all ready and the temperature up to 200 to 225 F. We especially love to use hickory wood / pellets in the smoker, it gives it the most wonderful flavor!
- Leave the bacon in the smoker until the internal temperature comes up to 165 F.
- Take all the bacon out of the smoker and let it cool. Now it’s time to slice it up! Our family especially loves thickly sliced bacon.
- Weigh out the bacon into 1lb packages. Get them all packaged and then stick em in the freezer.
I have side pork fresh from the pig that’s already been sliced.. how much will this differ the curing & smoking times?
If you smoke the bacon then it’s already cooked and I don’t have to cook it anymore? Also if I don’t smoke it do I freeze it after that? One more question – if it was frozen and already cut and not cured can I thaw it and brine in your ham curing recipe and then cook it?