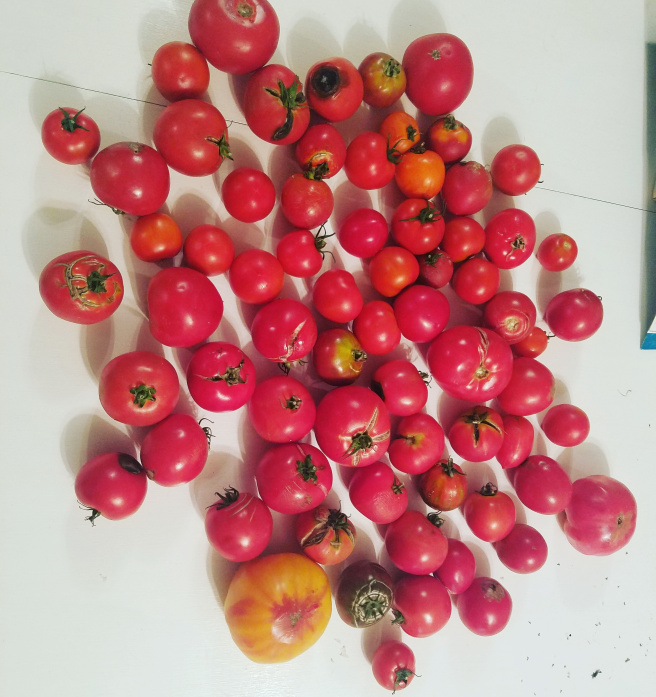
Hey y’all! I have found my all time favorite way to make tomato sauce! When I roast my tomatoes it gives them this amazing rich flavor that you just can’t beat! Plus, roasting the tomatoes makes the skin peel on its own without any blanching.
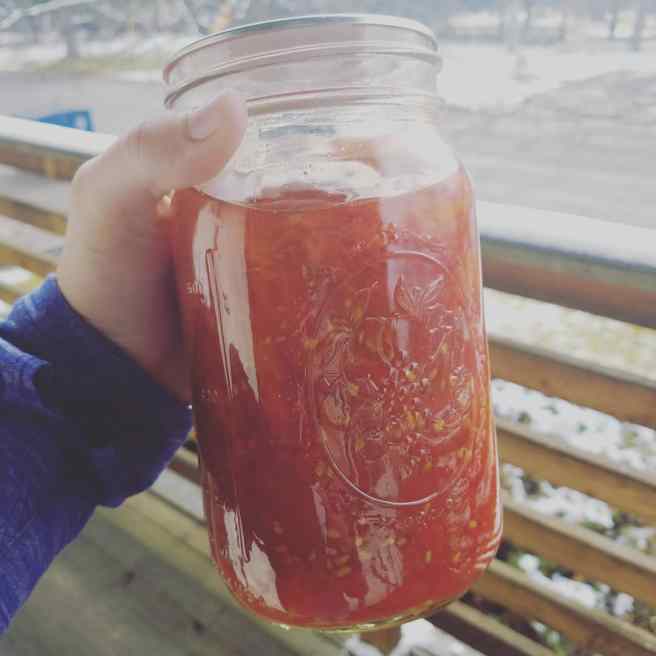
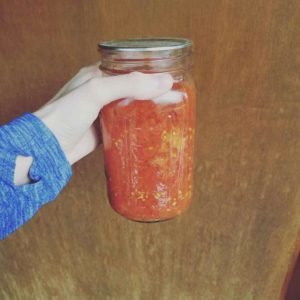
The roasting concentrates the juices and caramelizes the sugars in the tomatoes. The result will be a darker sauce, more wine colored than bright red.
Ingredients:
- Tomatoes
- NO oil or cooking spray.
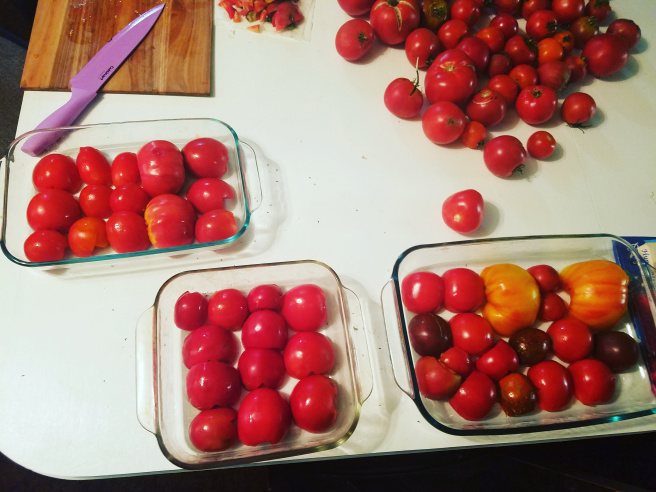
Start by cutting the tomatoes in half and cutting the stem part out. Place cut side down on a rimmed baking sheet. There’s no need to oil your pan. In fact, you really don’t want to. Oil should never be added to a home canning recipe unless a tested recipe calls for it (since oil can affect the heat penetration during the canning process).
Roast 45 to 50 minutes at 450°F. Take them out and let them cool a bit before you start taking the skins off, so ya don’t burn yourself. I usually can’t resist peeling them (it’s just so fun!) and end up getting my fingers a bit crispy…

Leave the tomatoes lying flat and start to pinch the skins off (simply by pinching them towards the center). If the skin isn’t coming off effortlessly, that means they needed to be roasted longer.
Collect all the tomato halves, and discard the liquid (or refrigerate for use in something else). Now at this point you can either run it thru a food mill / sieve for a smooth sauce, or you can blend it in a food processor for a bit chunkier of a sauce, or you could even leave as is and have more like diced tomatoes or a very rustic sauce. Just depends on your preference.
While your sauce is still hot put in either quart or pint jars, leaving 1/2 inch headspace. Add 2 tablespoons bottled lemon juice or 1/2 teaspoon citric acid to each quart – add 1 tablespoon bottled lemon juice or 1/4 teaspoon citric acid to each pint. This insures that the sauce is acidic enough to be safely water bath canned since tomatoes vary quite a bit in acidity.
Wipe the rims with a wet cloth and adjust your two piece lids. Process pints 40 minutes and quarts 45 minutes in a boiling water bath canner.
Roasting + Canning Tomatoes
Equipment
- Roasting pans
- Water bath canner
- Jar lifter
- Canning funnel
- Ladle
- Blender / food processor
Ingredients
- Tomatoes
- 1/2 tsp citric acid in each quart
Instructions
- Start by cutting the tomatoes in half and cutting the stem part out. Place cut side down on a rimmed baking sheet, WITHOUT any cooking oil or spray.
- Roast 45 to 50 minutes at 450°F. Take them out and let them cool a bit before you start taking the skins off.
- Leave the tomatoes lying flat and start to pinch the skins off (simply by pinching them towards the center). If the skin isn’t coming off effortlessly, that means they needed to be roasted longer.
- Collect all the tomato halves, and discard the liquid (or refrigerate for use in something else). Now at this point you can either run it thru a food mill / sieve for a smooth sauce, or you can blend it in a food processor for a bit chunkier of a sauce, or you could even leave as is and have more like diced tomatoes or a very rustic sauce. Just depends on your preference.
- While your sauce is still hot put in either quart or pint jars, leaving 1/2 inch headspace. Add 2 tablespoons bottled lemon juice or 1/2 teaspoon citric acid to each quart – add 1 tablespoon bottled lemon juice or 1/4 teaspoon citric acid to each pint. This insures that the sauce is acidic enough to be safely water bath canned since tomatoes vary quite a bit in acidity.
- Wipe the rims with a wet cloth and adjust your two piece lids. Process pints 40 minutes and quarts 45 minutes in a boiling water bath canner.
Leave a Reply