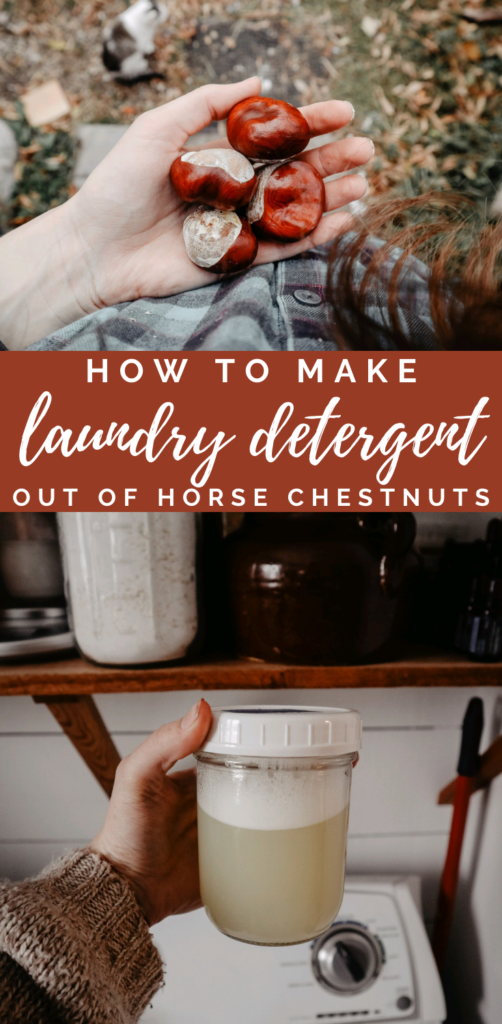
Making Laundry Soap With Conkers
This post may contain affiliate links. Read my disclosure policy here.
Jump to RecipeI love this sorta stuff.
I am a little obsessed with foraging for things in the wild to use in my home.
Somethin’ about it is so satisfying.
I feel like every time I find something like this that is completely self-sufficient, it makes me feel just a little more confident in being prepared for anything.
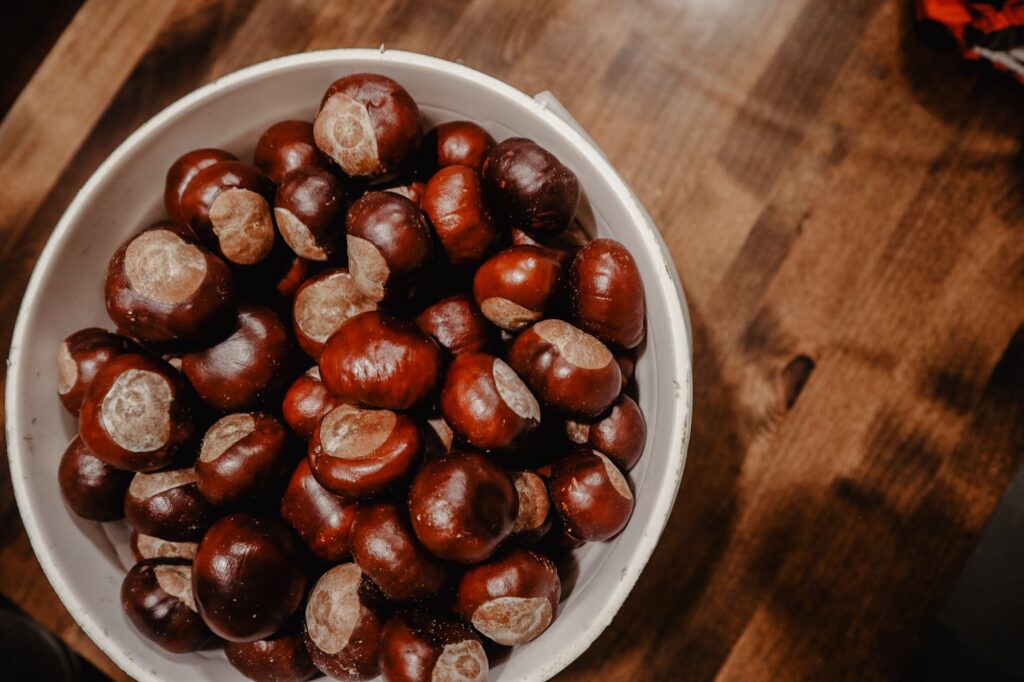
We are literally going to make our own soap out of horse chestnuts (or conkers).
A nut that is poisonous to eat (so make sure you don’t eat it, these aren’t regular chestnuts), is still very useful to use as a cleaner!
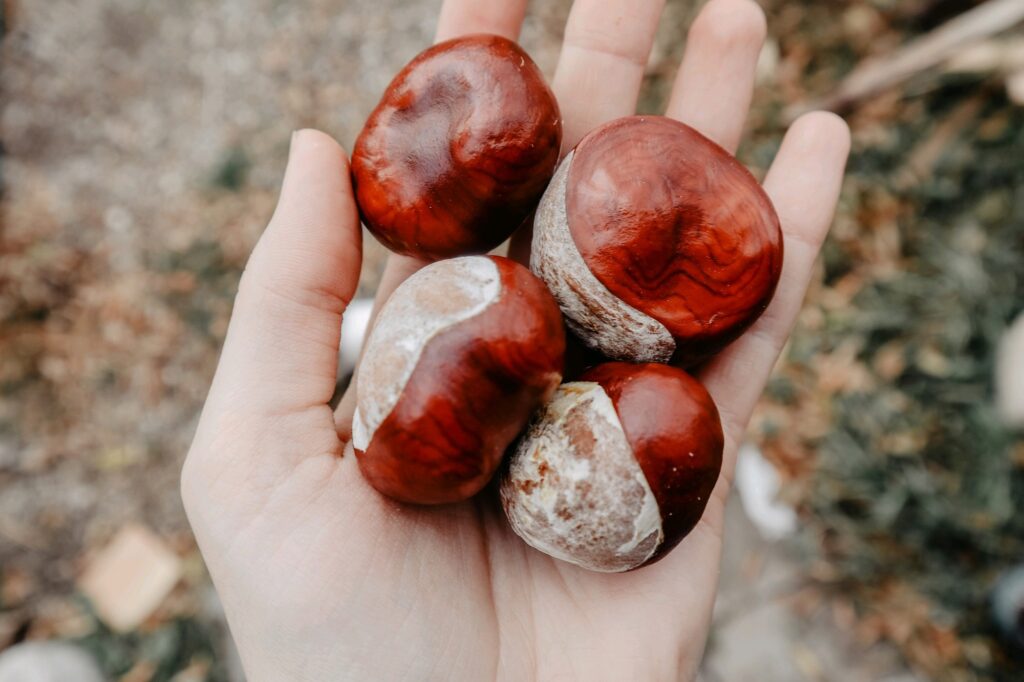
We always walk over these horse chestnuts on our family walks. Crushing the nuts under the stroller tires. Some would be still encased in their spiky shells, some would crack open as they hit the ground from way up in the tree.
They were fun to play with as a child. But for the longest time, I never recognized their potential.
Making Laundry Soap With Conkers
Fall is the time to gather these.
They will just be laying all over the ground under a chestnut tree.
I have gone out on about 4 foraging trips this year and have almost 600 nuts collected.
We do a LOT of laundry so I always need a ton.
De-shell them
Firstly, take them all out of their scary lookin shells.
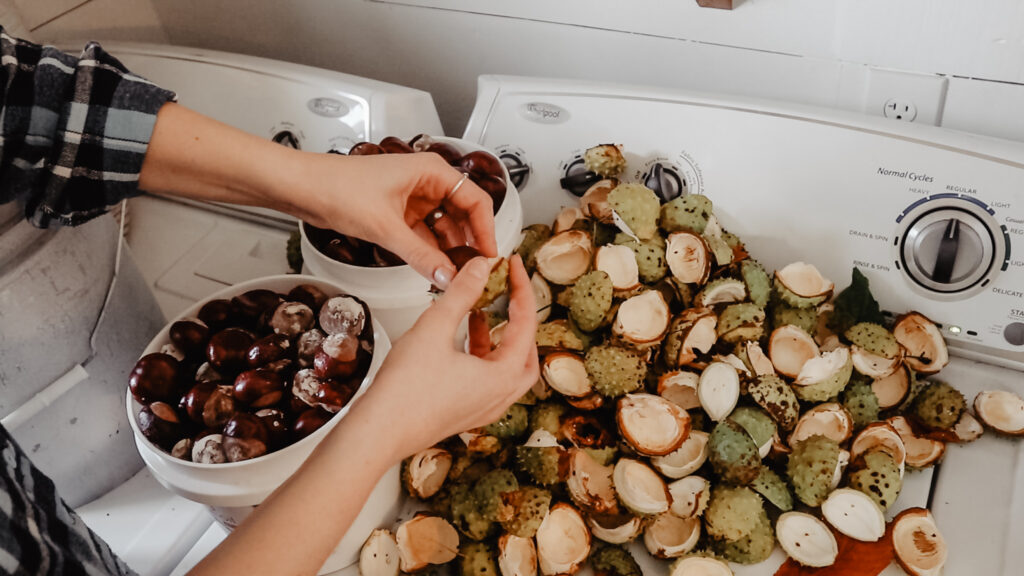
Might be a good idea to wear gloves.
If you were smart, unlike me.
My hands were a little sore after pulling off hundreds of sharp spikey shells.
Learn from my mistakes.
Watch this on YouTube
Crush them up
You are going to need to find a way to crush or grind them up. The smaller they are the less you’ll need to use for soap, so the less you’ll have to gather.
I’ve tried several different methods for this.
Use a blender
Probably my favorite way is to use the blender. We have a nice ninja blender and it does a good job. If you have a really cheap blender it might not last long through grinding up these really hard chestnuts. But a high quality one should hold up well.
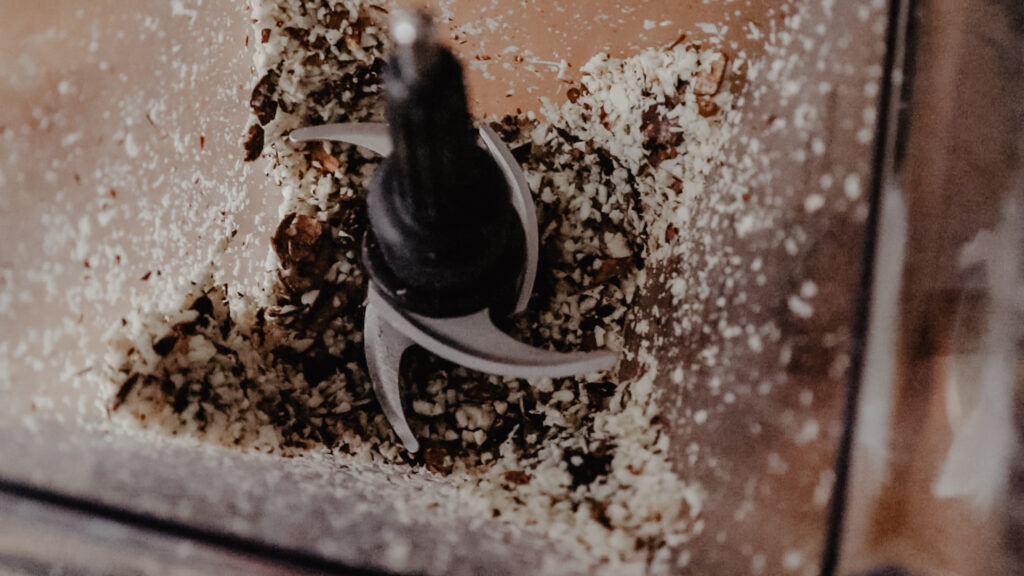
It still freaks me out a little because we are very frugal and I don’t wanna have to buy another $100 blender. So I have tried several other methods, but honestly, the blender is still my favorite.
It is just so fast and easy.
So it is probably worth it even if you have to buy a new one every few years.
Listen to this on your favorite podcast app!
Use a knife
This method is a little more dangerous and you have to use a really sharp knife.
And keep them fingers out of the way!

But you can chop them in half and quarters and then in as small of pieces as you have the patience for.
Use a hammer
You can wrap some nuts in a towel or two and hold onto it with one hand while you use the hammer on them with the other hand.
I actually also went out to the chicken coop and got our big t-post pounder, dropped a bunch of horse chestnuts in a 5-gallon bucket, and started pounding on em.
Takes a lot more time and energy to do that, but an ok option for if the power is off and the blender won’t work.
Bottom line, the blender is easiest.
Dehydrate them
Now you can make the laundry soap with freshly crushed conkers, but if you want to store them for long, you’ll need to do this next step.
Use a dehydrator
You lay some parchment or wax paper on the dehydrator trays so they don’t fall through the holes. Just layer the ground chestnuts on the tray and turn it on.
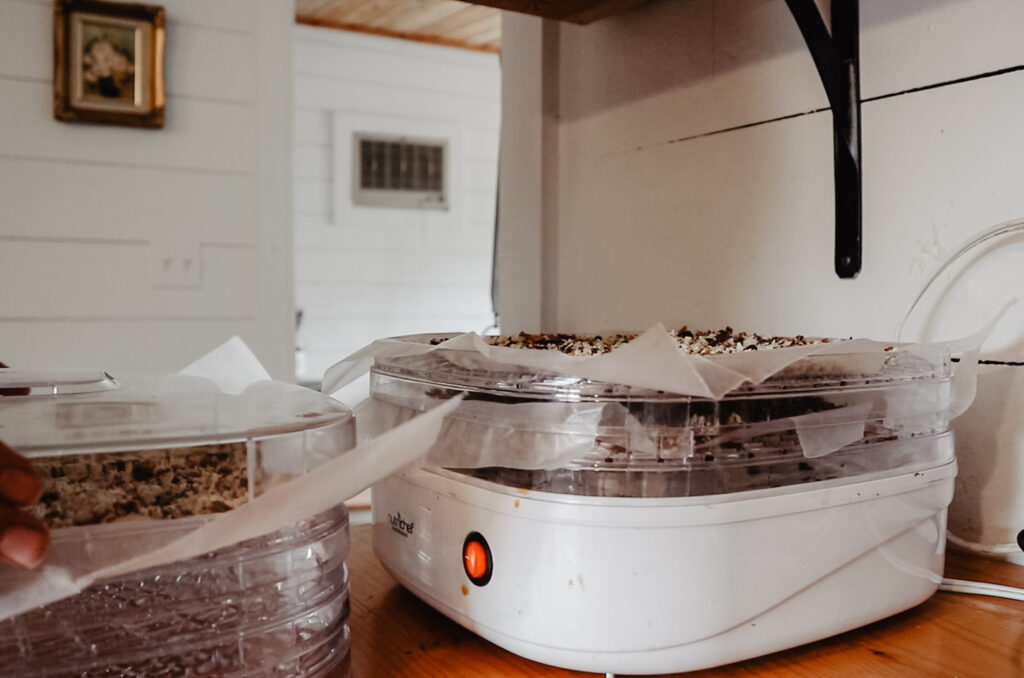
If you have a dehydrator that has temperature adjustments, keep it between 140 and 160 degrees. My dehydrator doesn’t have a temp control, so ya don’t have to worry about it in that case.
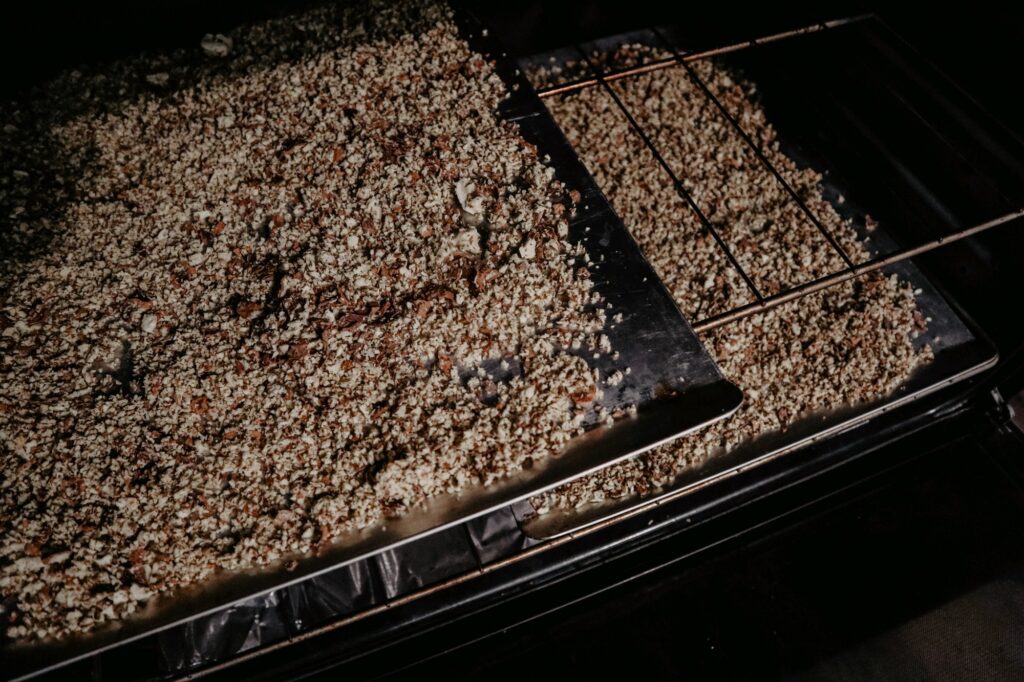
Use the oven
You can also use the oven if you don’t have a dehydrator (or if you’re like me and your dehydrator is full of apples for the forseeable future).
Even if my dehydrator is free, I still use the method all the time to get them dehydrated faster. So I’ll have the whole dehydrator filled, plus the oven since it always happens that I have hundreds of conkers to process all at once.
Of course, they’ll last a couple months still in the shell, but that’s still a ton of conkers to dehydrate, so I just like to get a jump on it.
Turn your oven onto the lowest temperature it goes to, mine goes down to 170 degrees.
Layer them on a cookie sheet and put em in the oven.
Just go by and stir them up every now and then. I tend to actually only remember to do it like 2 or 3 times per batch.
But just giving them a stir a couple times will help be less likely to burn.
How to tell when they’re done
Either method you use, you’ll start getting a feel for when they are done.
When I’m not sure, I lean more toward over-done than under-under done. If they still have moisture in them when you put them in storage they will mildew and go bad. So make sure they are nice and dry.
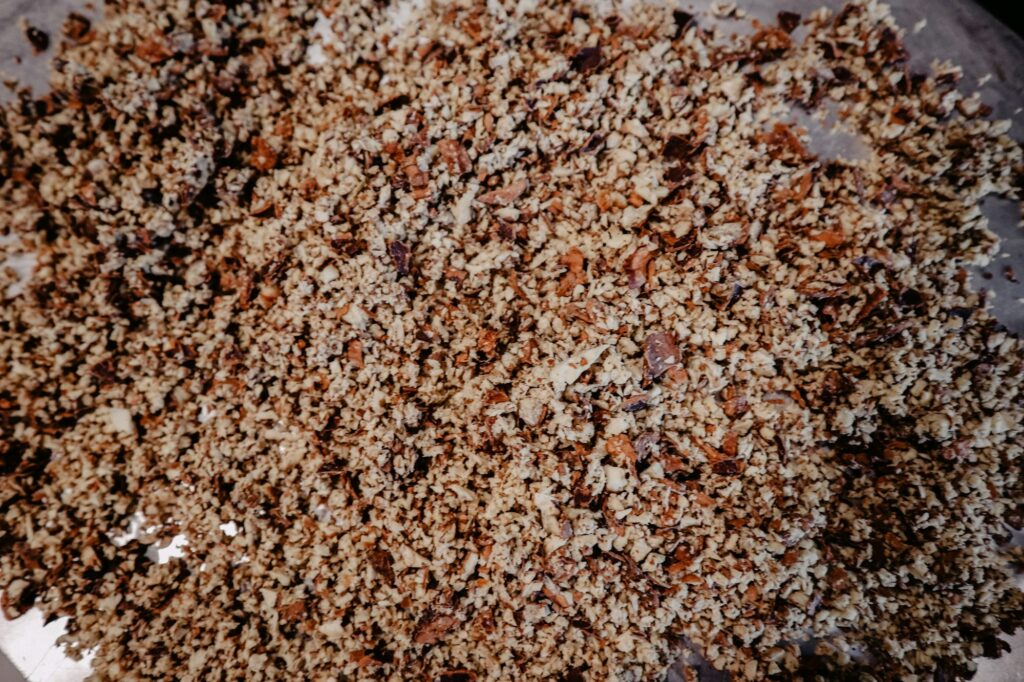
They remind me of granola a little bit when they’re all done, just a little more dry and crisp than granola.
I’ve heard from some people that even if you accidentally burn them a little and they look like humiliated brownies…
They will still work fine. I just haven’t tried it myself yet.
Storage
With proper storage, the conker soap that we worked so hard for, will last about a year.
I store mine in a 5-gallon bucket with a gamma seal on. They need to last all year until the next harvest so I try to take really good care of em.
I fill a few little bags with rice and put them in there to help pull out any moisture that I missed with the dehydrating.
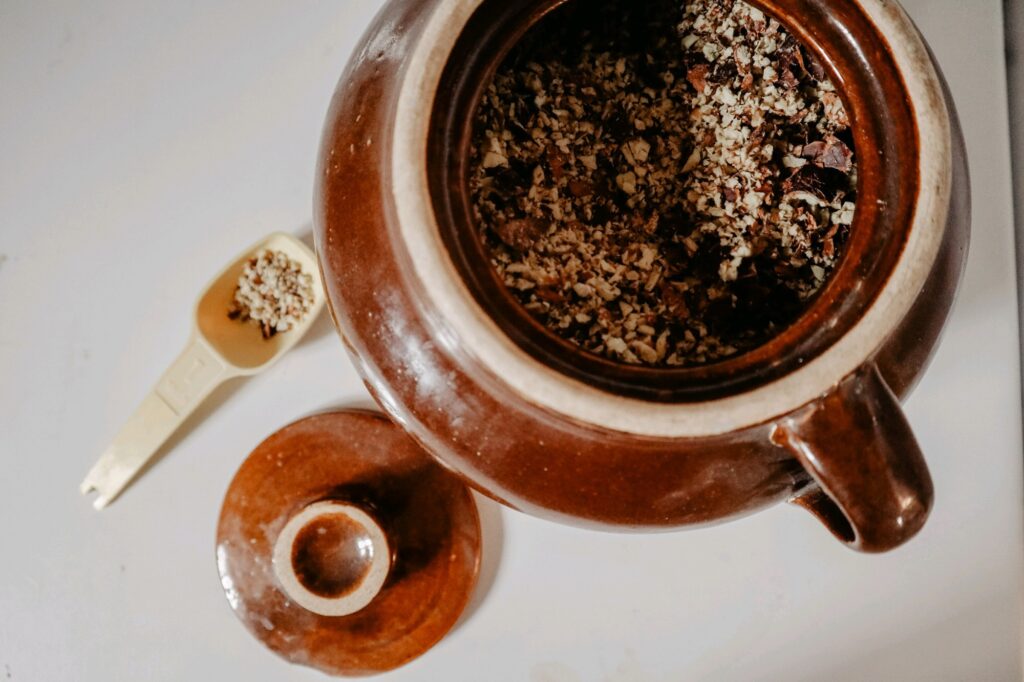
The big bucket of conkers is in storage upstairs and I have a little ceramic jar that I keep full in the laundry room for everyday use. When that’s empty I just go refill it from upstairs.
How to make the liquid soap
Now we are officially to the part where to get to make your laundry soap!
If you skipped the dehydrating step and just want to make a batch with freshly ground conkers then you’d still follow these same instructions.
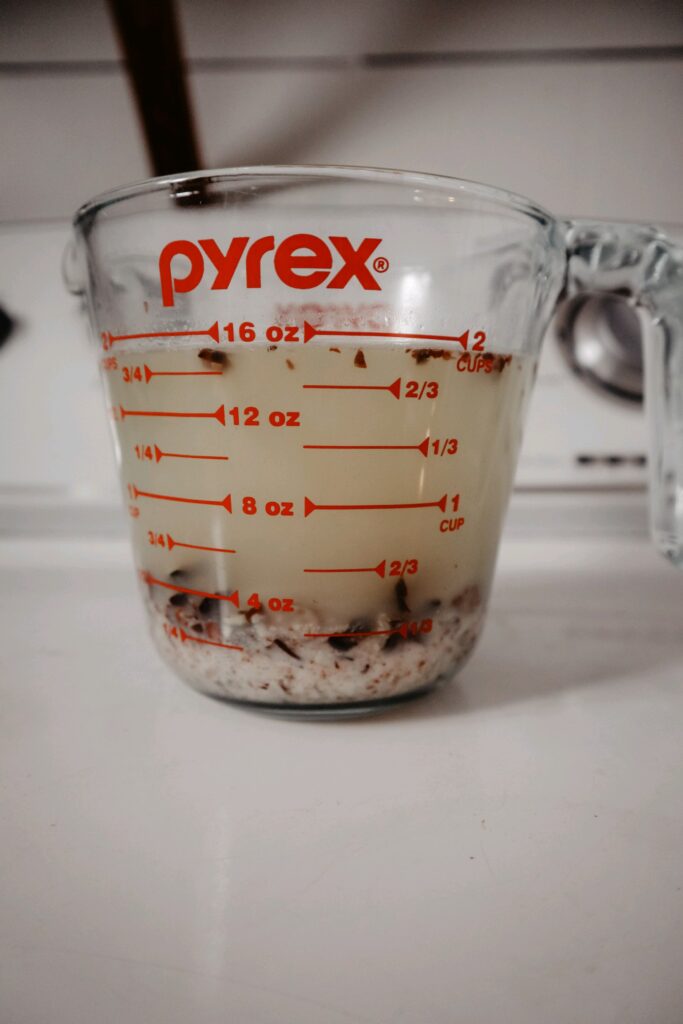
So either way, I scoop 1/4 cup into a glass Pyrex measuring cup (you can use a jar or a bowl, or whatever you’ve got on hand), then pour about 2 cups of hot water over them.
If they are more finely ground in the blender you only have to let it soak for half an hour. But if they are cut in quarters they will have to soak overnight to have enough time to release the saponins.
With how forgetful I can be, I definitely need to make them more finely ground. It’s hard enough to think of it 30 minutes before, much less a whole day before!
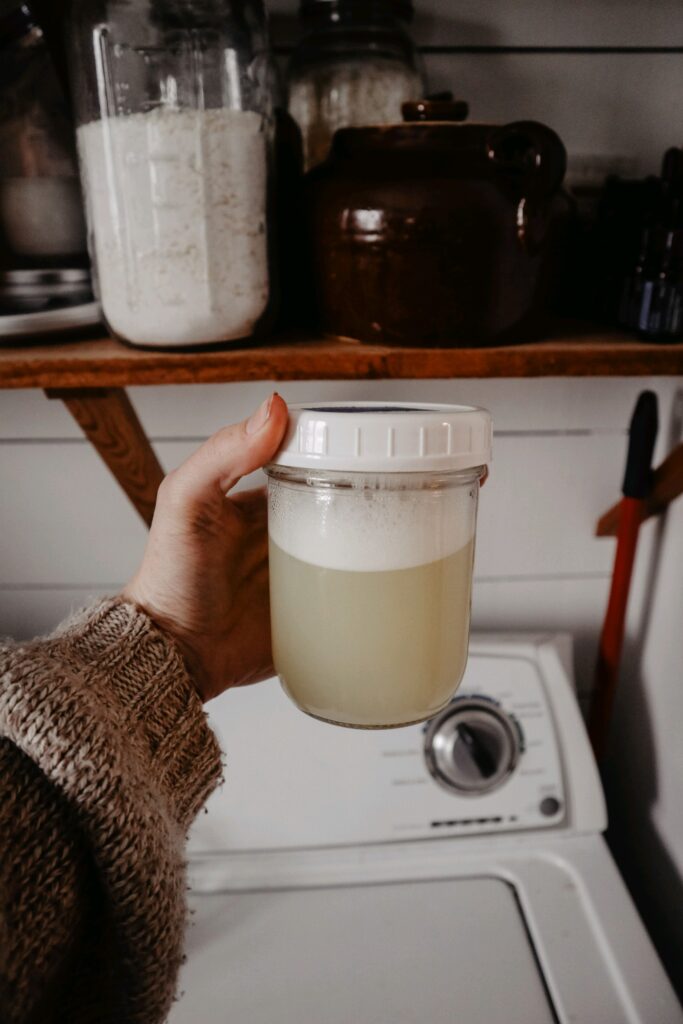
Once it has sat for the correct amount of time I pour it through a strainer straight into my washer. Just make sure you strain off the conkers or it might ruin your machine.
And woohoo!
That is it!
You can make a double or triple batch of the conker soap and it’ll store in the fridge for about a week. That makes it a bit easier the next time you go to wash some clothes.
And then that’s all you have to do until next fall!
I just absolutely love how sustainable and zero waste this is.
It makes my thrifty heart happy.
This fall time, with all the foraging, dehydrating, canning, everything that needs to be done before winter, is my favorite time of the year. Besides winter of course.
But I just really enjoy this process of working hard to prepare everything for my family until the spring.
And blessings.
Pin it for later!
Conker laundry soap
Equipment
- Blender / food processor
- Dehydrator / cookie sheets
- Bucket for storage
Materials
- 1/4 cup ground dehydrated horse chestnuts
- 2 cups hot water
Instructions
- Gather horse chestnuts after they have fallen off the tree.
- Shell them.
- Crush or grind them up.
- Dehydrate in the oven at lowest temp, or around 140 to 160 in the dehydrator.
- Store in air tight container with rice bags to absorb moisture.
- Pour 1/4 cup of the conkers into a jar and add 2 cups of hot water to it.
- If you ground the conkers finely, soak for 30 minutes. If they are quartered, soak overnight.
- Strain the grinds out as your pour the liquid in your washer.
- Wash laundry as usual!
Making Laundry Soap With Conkers
[…] How to make laundry soap with horse chestnuts […]