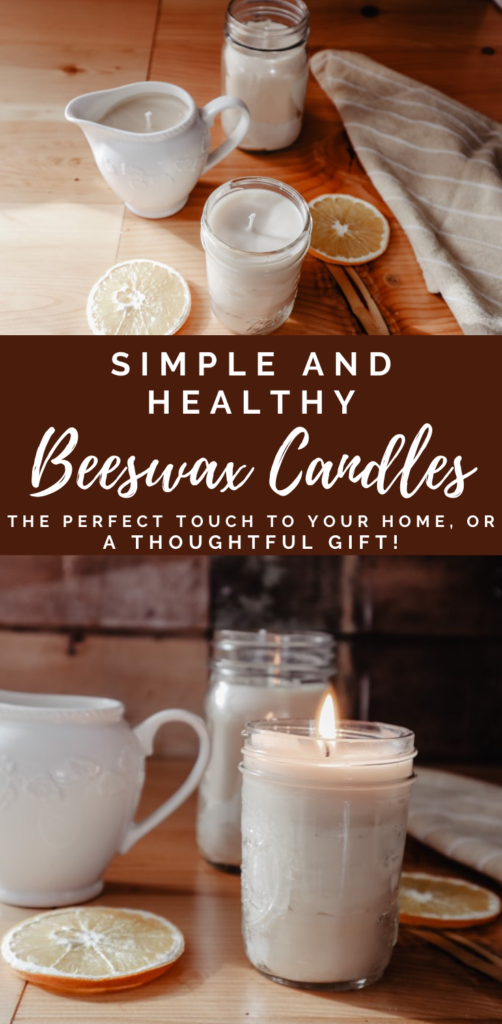
Simple Beeswax Candle Recipe
This post may contain affiliate links. Read my disclosure policy here.
Jump to RecipeThis is just one of those things.
One of those things that feels grounding.
It’s the same feeling I get when I’m baking bread or canning food that I’ve gone out and harvested myself.
It is something I can do with my hands that makes me feel like I’m living. It reminds me of this lifestyle that we are striving for.
Melting and pouring this golden, beautiful beeswax. This forces me to slow down in the moment. To appreciate the things I can create for my family.
Making something like this reminds me of the calling of a homemaker.
To make our homes safe and beautiful and inviting.
To create things, and to teach my children how to create things in the process.
Sure, I could buy it at the store for less effort and not very much money, but they wouldn’t have the same care put into them.
Would I really appreciate that golden glow as much while the candle is burning? Or would it be as fun to light with my husband after the kids go to bed, and just sit in the candlelight talking for hours?
I think not.

Bees make such magical things.
They are healthier (and what’s wrong with store-bought ones)
I tend to do a lot of research online.
It’s a blessing and a curse.
Because I always seem to discover one more thing that is in our home that is full of toxins, so I start to make it myself.
This is a long journey of removing toxins from our homes, and it will never be perfect. But everything we can do to remove them will help our family’s health.
Store-bought candles are surprisingly toxic if ya didn’t know. Most of the time they are made out of paraffin wax, which creates highly toxic carcinogens.
Actually, the same fumes that are in diesel fumes, are what’s releasing into the air from your paraffin candles. Paraffin fumes have been found to cause tumors in the kidneys and liver of lab animals.
Um, no thank you.
Not happening in my home.
I’m so thankful that we have the internet and the ability to learn these things to improve our family’s health.
Plus, here’s another cool point for ya. Burning beeswax puts a negative charge into the air and things like pollen, dirt, and and dust are charged by positive ions. So that means that burning a beeswax candle actually causes these particles to drop out of the air, which purifies your air. That lessens the effect of allergies, asthma and other things like that.
Uh, how cool!
I learnt that from the most awesome Shaye Elliott from The Elliott Homestead.
Listen to this on your favorite podcast app!
So easy!
There really isn’t much to making candles.
It’s a simple and easy process.
Definitely my kinda project!
It doesn’t even need to be scented. Honestly, I usually don’t because it takes a lot of essential oils and it makes it more complicated.
So I run my essential oil diffuser for all the lovely smells, and a candle lit for all the cozy warm feels.
Watch this on YouTube!
Simple Beeswax Candle Recipe
What you’ll need:
- 1lb of beeswax
- 1/2 cup of coconut oil (this helps the candle burn longer)
- optional a couple chunks of cocoa butter for a lovely chocolate scent
- optional 30 to 50 drops essential oils (I usually don’t add any)
- Various jars or vases
- Candle wicks
- Tape
- Clothespins or pencils
Step one:
Add the beeswax and coconut oil to a double boiler (and the cocoa butter if you are adding it). If you are using a big block of wax, you’ll have to cut off it as you weigh it, I prefer using pellet wax, especially since it’s cheaper to most of the time.

I like to always use the same glass bowl nested in a stainless steel pot of water. That bowl never gets washed and I only use it for beeswax products.
Cause if you have ever tried to clean beeswax off of something, you will know why I refuse to do that anymore!
Turn the burner on medium or medium high. We are using a double boiler to bring the oils up to temperature more evenly so that they don’t scorch and lose some of their beneficial properties.
Step two:
While the beeswax and coconut oil are melting, you can prepare the containers your candles will go in.
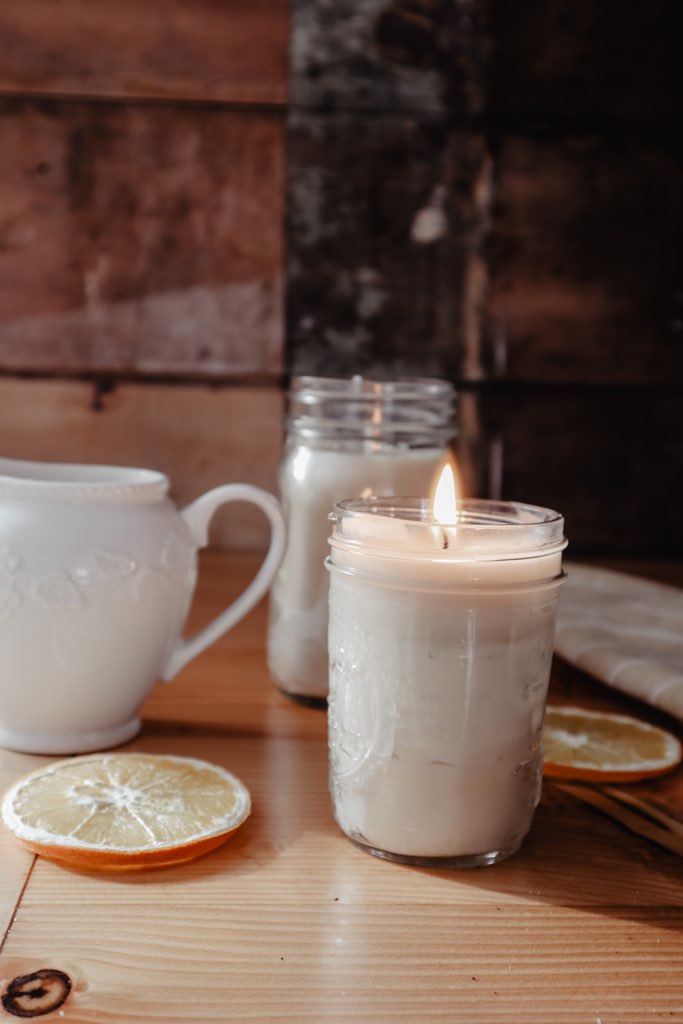
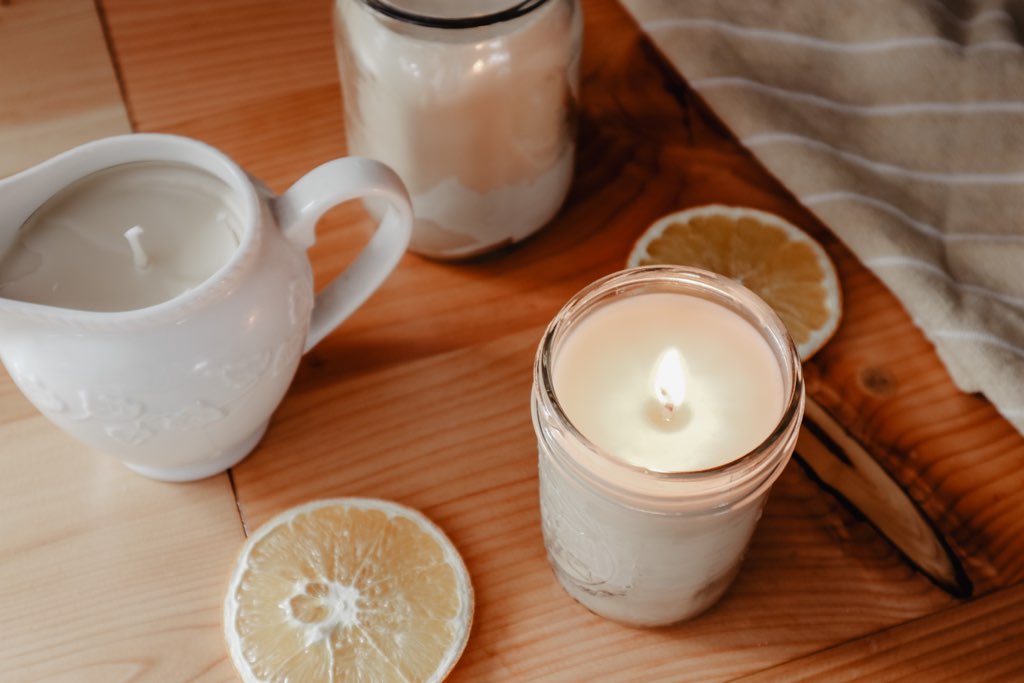
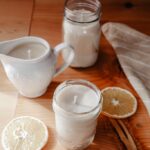
I like to use things like little pitchers, small canisters, coffee mugs, or mason jars. You can use all sorts of cute or different containers. Just as long as they are heat proof.
Obviously don’t use a plastic bottle.
It makes them so interesting and cute to be in unique pieces, which I usually have found at the thrift store.
Just make sure that they aren’t super narrow at the top so that when your candle burns down far enough you won’t be able to light it again. I usually stick with things that are shaped close to pint or half pint mason jars. For that size you only have to use one wick (if it’s too wide you’ll have to use 3 in a triangle pattern).
You are going to secure your wick to the bottom of the jar so it doesn’t move when you pour the beeswax in.
I have done it without. I like to just wing it sometimes.
It’s just what I do.
But it is definitely less stressful if you know the wick won’t move over. You can hot glue them down. They also sell actual wick stickers, which of course, I’m too stubborn to buy.
So I just fold a piece of tape so that it turns it into double sided tape.

Tada!
You don’t have to have some special thing laying around the house that is only for one purpose!
Makes me happy.
Anyway, that was a long rabbit trail. I had seen a butterfly.
The point is, it is best to secure your wick to the bottom of the jar with somethin’.
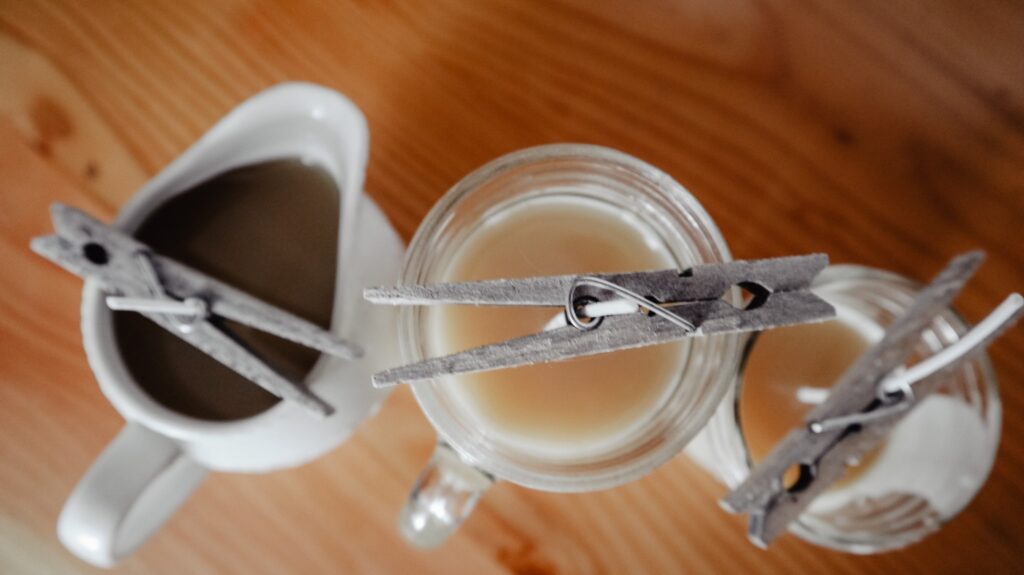
Step three:
To keep the wicks centered, I use a clothespin. You could also use a pencil or a skewer and wrap the wick around it. But the clothespin holds onto it so I like to use that.
Step four:
Once the beeswax and coconut oil are all melted, take them off the burner. This is the point that you add essential oils if you want them.
Like I said, I don’t normally add them, because it is more cost effective to run the essential oil diffuser. But if you do want to try it some good combinations would be:
- lemon + lavender
- cinnamon + pine
- peppermint + orange
- Rosemary + orange
Or any combination you love, or any single oils you love. If you add cocoa butter, lavender would smell amazing with that. There are just a trillion combos you could do.
Step five:
Now this next part can be a little scary.
We are going to pour the beeswax mixture into the containers. I actually like to pour the whole bowl into a big glass pyrex measuring cup, because it is really easy to pour out of its spout.
It’s a bit more tricky to try to aim into the little mason jars with a huge bowl.
Not a pretty outcome.
Unless you are super skilled.
Which I am not.
The candle mixture also hardens very quickly because the beeswax has such a high melting point. So you have to work very quickly.
If it happens to harden onto the sides (which inevitably it does at least a little), I just stick it into a prepared 350 degree oven and it’ll melt it again.
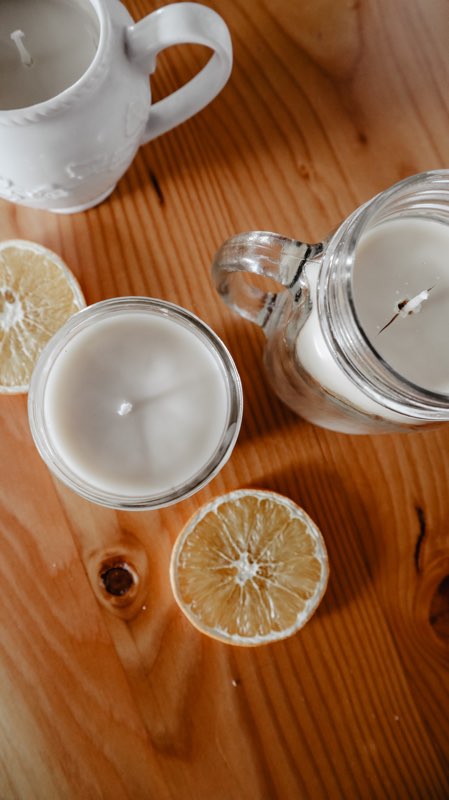
Step six:
The candles will take around 5 to 10 minutes to set-up all the way. Now you can trim the wick to around 1/2 inch long.
And they’re ready to light!
And blessing!
Beeswax Candle Tips + Tricks:
- Feel free to divide the recipe down if you don’t want to use a whole 1lb of beeswax.
- If you use white beeswax pellets, make sure they have been naturally lightened, not bleached.
- When you go to light your candle for the first time, if the wick is sparking or smoking just blow it out and re-cut your wick. If it is much shorter than 1/2 inch, it will cause the candle to burn down in a tunnel shape.
- You can make this without coconut oil, and it’ll be totally fine. The coconut oil just helps it to burn slower and longer, so it prolongs it’s life a little.
Pin it for later!
Simple Beeswax Candle Recipe
Equipment
- Small mason jars or other heat proof containers
- Candle wicks
- Wick stickers or tape
- Clothespins
- Scissors
- Double boiler
- Pyrex cup to pour
Materials
- 1 lb yellow beeswax
- 1/2 cup coconut oil
- a few chunks cocoa butter optional, for a chocolate scent
- 30 to 50 drops essential oil optional
Instructions
- Melt wax, oil and optional butters in a double boiler.
- Prepare your containers: attach wicks to the bottom of jars with tape or hot glue, and secure the top of the wicks in the center of the jars, using a clothespin.
- Once the beeswax is all melted, add in essential oils if you want.
- Pour into containers. Try to do this quickly because the beeswax hardens very fast.
- Let them set-up for 5 to 10 minutes.
- Trim wicks to about 1/2 inch.
Simple Beeswax Candle Recipe
Simply wanna admit that this is handy , Thanks for taking your time to write this. Mareah Danie Amador
This was fantastic. Look forward to more posts like this one! Thanks! Isahella Rouvin Boylston
Really enjoyed this blog. Fantastic.
Have you ever tried wood wicks? Do you prefer cotton?
No, I’ve never tried wood wicks, but I’d definitely be interested to!
Im thankful for the blog.Thanks Again. Keep writing.
Greetings! This is my 1st comment here so I just wanted to give a quick shout out and say I genuinely enjoy reading your articles. Can you recommend any other blogs/websites/forums that deal with the same topics? Thank you!
Hi,
what size of wicks do you use for your candles?My candles keep tunnelling even though I follow your instructions. I read somewhere that beeswax candles need a bigger wick because of their higher melting point.
Many thanks