Simple Healthy Lotion Recipe
This post may contain affiliate links. Read my disclosure policy here.
Jump to RecipeThis is an all-purpose lotion.
Y’all. I like all-purpose things.
There is nothing, NOTHING I TELL YA, more annoying to me than having a hundred bottles of lotion and crap all over the place for every different body part.
That sorta clutter kills my soul.
Ok, maybe that’s a little dramatic, and maybe there are some things that are even more annoying, but this is up there on the list.
Have you guys noticed that I’m slightly dramatic yet?
No? Really?
I must try harder then.
Anyway. This is the lotion I use just for everyday. It is my face moisturizer. Body lotion. Hand and foot moisturizer. Ya know. It’s all-purpose.
Making handmade products like this just makes me so happy. Using essential oils and nourishing oils and butters.
This is just so healthy for your skin. So free of nasties.
Did you know that the average woman puts over 100 toxins on her body every single day?
Did you hear me right??
Over 100 toxins.
That is so alarming to me.
So in my quest to eliminate toxins from our home, I have developed a lotion recipe for our entire family to use!
You can even put this on your baby as long as you’ve used some gentle essential oils like lavender.
Anything that you put on your skin can absorb right into your body. It is the biggest organ in your body, and it literally absorbs anything you put on it.
That is why I love making my own lotions (and almost everything else).
Each and every ingredient is pure enough to eat.
And guys, we really shouldn’t put anything in our bodies that we wouldn’t put in our mouths.
At first it can seem overwhelming to think about eliminating all those toxins. But if you just work on one thing at a time, you will get there! Before you know it, your whole routine will only consist of handmade natural products that are free of harmful chemicals.
Watch this on YouTube!
Simple Healthy Lotion Recipe
- 1 1/3 cup (10.5oz) coconut oil
- 1/2 cup (4oz) shea butter
- 1/4 cup (2oz) olive oil
- 1 heaping tbsp (0.33oz) beeswax pellets
- 2 tbsp vitamin E oil
- 20 drops essential oil
Step one:
Measure out the coconut oil, shea butter, olive oil and beeswax into a double boiler. I just use a glass bowl in a stainless steel pot of water for my make-shift double boiler.
You can be really specific and use the ounce measurements with a kitchen scale. I added those in for all you type-A people.
You’re welcome.
I just use the cup and tbsp measurements though. I am never that specific with amounts. Just put some in and it always turns out good!
Step two:
Put the double boiler on the stove and turn on the burner. Allow it to all melt into a liquid.
Step three:
Set aside to cool for a little bit. Then add the vitamin E oil and essential oils. You don’t want to add them when the other oils are too hot or the beneficial properties of the essential oils and vitamin E oil will be burned off.
Step four:
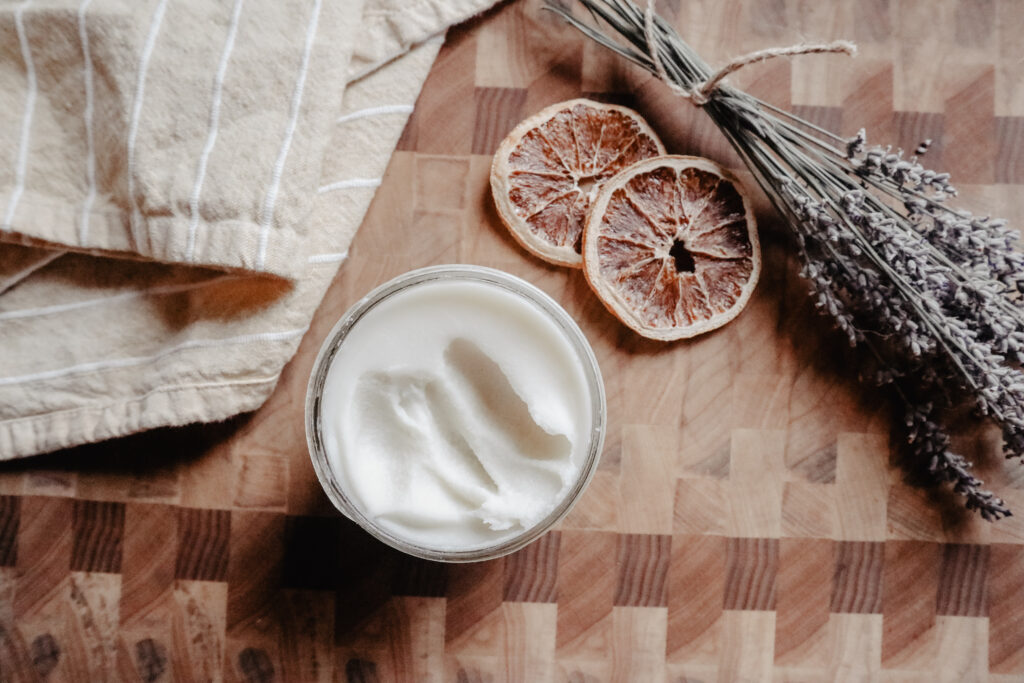
Now at this point you have two options. The easy option, and one I did the first 4 years I made this lotion recipe, is to just pour it into some mason jars and allow it to harden.
The second one is much more fabulous.
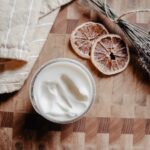
You can place the bowl of liquid lotion into the refrigerator and let it harden until you can just push you finger through it. You don’t want it totally hardened, but also not runny.
Then whip it! I like to use my kitchen aid mixer for this. This makes an absolutely divine whipped lotion. It is so creamy and soft.
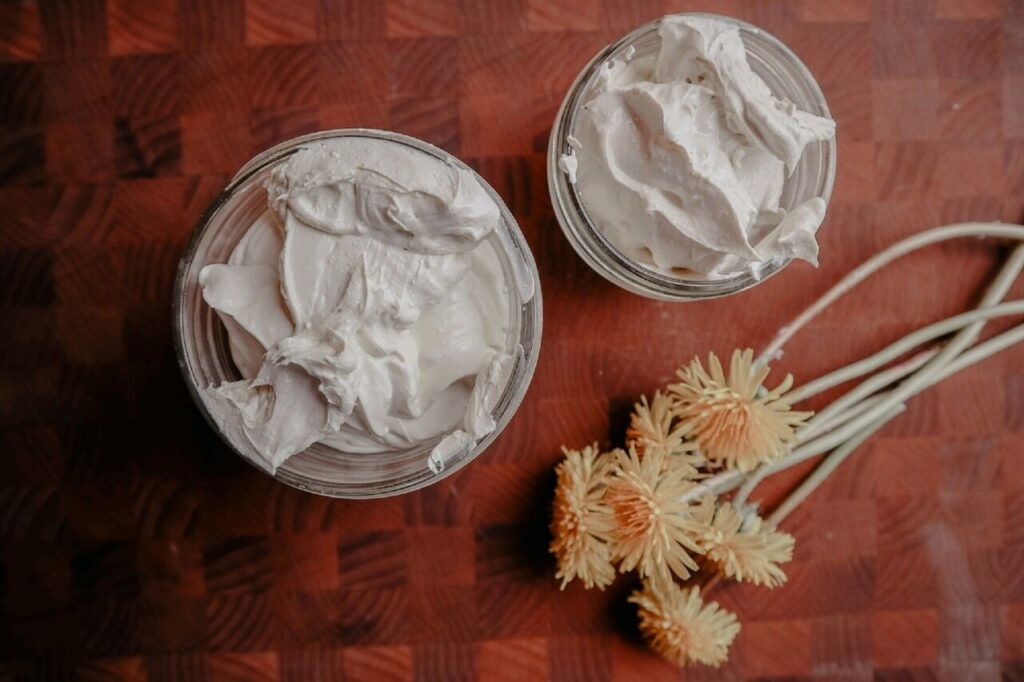
This method is definitely my favorite. But if I don’t have time to worry about it, I still use the first simple method quite a bit. Whipping it doesn’t affect how healthy the ingredients are, it just makes it a little easier to spread.
Essential oils for homemade lotion
You can literally use any essential oils that you like the best. Whichever ones are going to make you happy whenever you put this lotion on.
But if you need help thinking of some here are a few ideas for ya!
Essential oils for oily skin
- Tea Tree
- Roman Chamomile
- Lemon
- Lavender
- Geranium
Essential oils for dry skin
- Myrrh
- Geranium
- Frankincense
- Peppermint
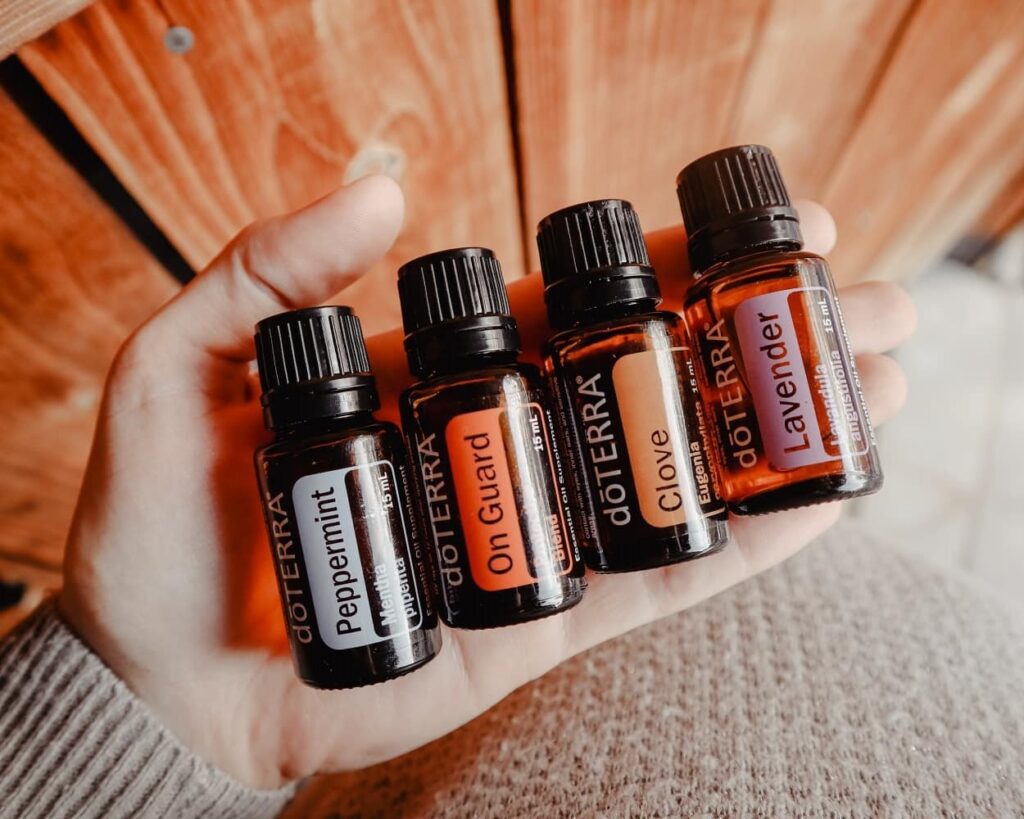
Blend ideas
Soothing
- 10 drops wintergreen
- 5 drops peppermint
- 4 drops ylang ylang
Immune support
- 8 drops clove
- 6 drops wild orange
- 5 drops frankincense
- 4 drops cinnamon
- 3 drops eucalyptus
Relaxing
- 10 drops lavender
- 5 drops frankincense
- 5 drops patchouli
How long will this lotion last?
Store this in an air tight container out of direct sunlight and this lotion should last around 6 months.
I’ll always keep a batch of this fabulous lotion on hand. It’s one more fantastic thing to have up our sleeves!
Us mamas always got a lot of things up our sleeves.
Or is it under our belts.
I never remember the proper use of phrases.
Don’t mind me.
I love that this is inexpensive and nourishing for the skin at the same time. I know each and every ingredient so I’m sure I’m not putting any toxins on my skin, or my family’s.
What a blessing that we have these easy and simple options for keeping our families healthy. All it takes is a little creativity and time.
And blessings!
Pin it for later!
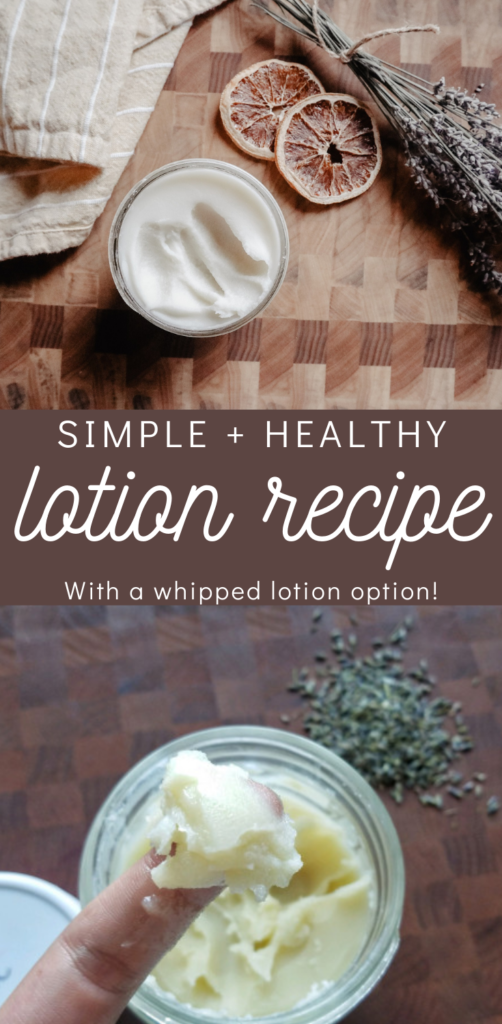
Print out the recipe for later!
Simple Healthy Lotion Recipe
Materials
- 1 1/3 cup coconut oil 10.5oz
- 1/2 cup shea butter 4oz
- 1/4 cup olive oil 2oz
- 1 heaping tbsp beeswax pellets 0.33oz
- 2 tbsp vitamin E oil
- 20 drops essential oil
Instructions
- Melt the coconut oil, shea butter, olive oil, and beeswax in a double boiler on medium high heat.
- Remove from the burner, allow to cool slightly and add the vitamin e oil and essential oils and stir to combine them.
- Either just pour into some mason jars and allow to harden. Or place the bowl in the fridge until it is hardened enough for you to push your finger through it. Then whip it up in your kitchen aid or with a hand mixer.
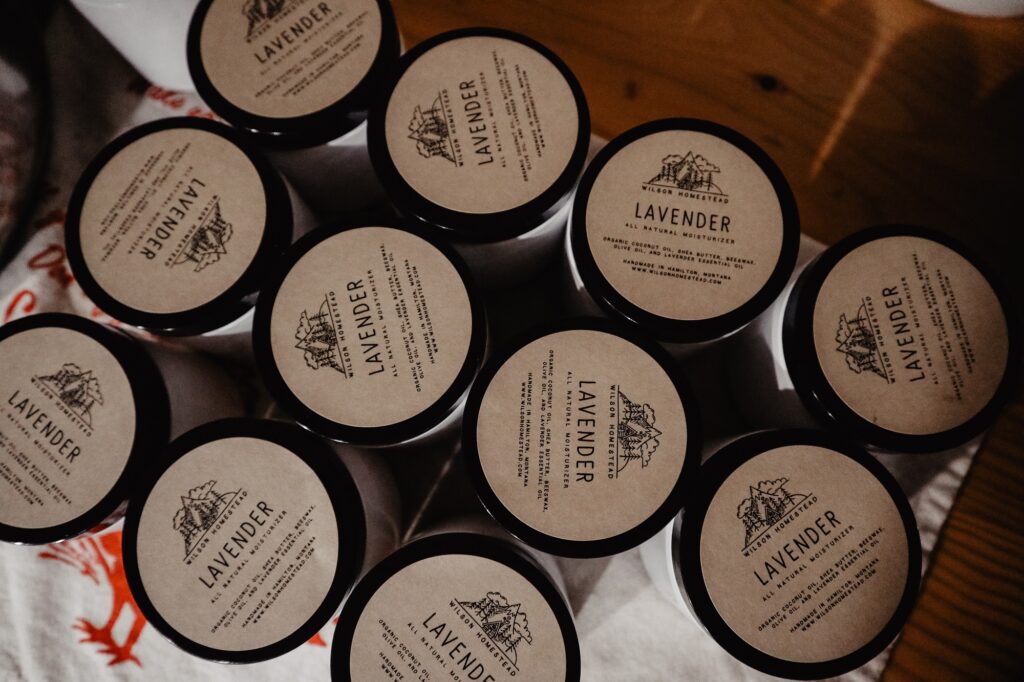
- I store mine in mason jars usually, and just apply as needed!
What if you don’t have beeswax pellets, what can you use in place of that?
Does it matter if the shea butter is refined or unrefined?
Is there a way to make it less greasy?
Did you find a way? Bc im really hating how greasy it is
Arrow root powder try adding a couple tablespoons maybe
Did you whip it up enough, it might be greasy because it needs to whip to more of a fluff?
I’m with Marlene. Is there a way to help it not feel so greasy?
I’ve used Arrowroot powder in my recipes to help absorb some of the oils. Just add a little at a time, stir in, and test it.
I make a deodorant that’s 1:1:1 oils mixed with cornstarch and baking soda. When i put it on it absorbs in directly leaving a light coat of the baking soda/cornstarch. I wonder how it would be to add cornstarch to the lotion?
I drop the amount of coconut oil and replace it with more shea butter or another butter (cacao or mango) and add a few drops of rose water. This helps it blend into your skin with less greasiness
Did you use solid coconut oil and melt it or liquid coconut oil?
hey mine is really greasy, what can i do?
Add a small amount of arrow root powder.
Super oily. I hate to say it, but I cannot use it. The scent is also kind of “heavy”, even though I added more essential oil to help with the fragrance.
Can this recipe be used effectively in a pumper bottle?
What are the ratio for the dry skin essential oils?
How much lotion does this recipe make? I would love to do a few different oils rather than 1 for all of it. I’m really looking forward to creating!
Thanks!
It can be dangerous using the bees wax because people who have allergies to bees may react. At first I didn’t think that it would be an issue but then my sister who is allergic to bees put just a dab on her face and in under 15 min we were rushing her to the emergency room.