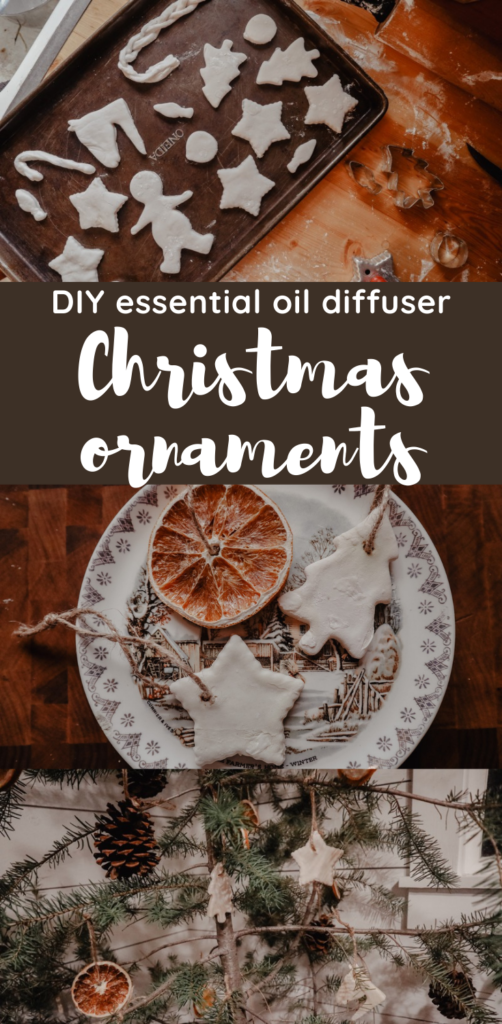
DIY Essential Oil Diffuser Christmas Ornaments
This post may contain affiliate links. Read my disclosure policy here.
Jump to RecipeSimple Christmas ornaments are the best.
Aren’t they?
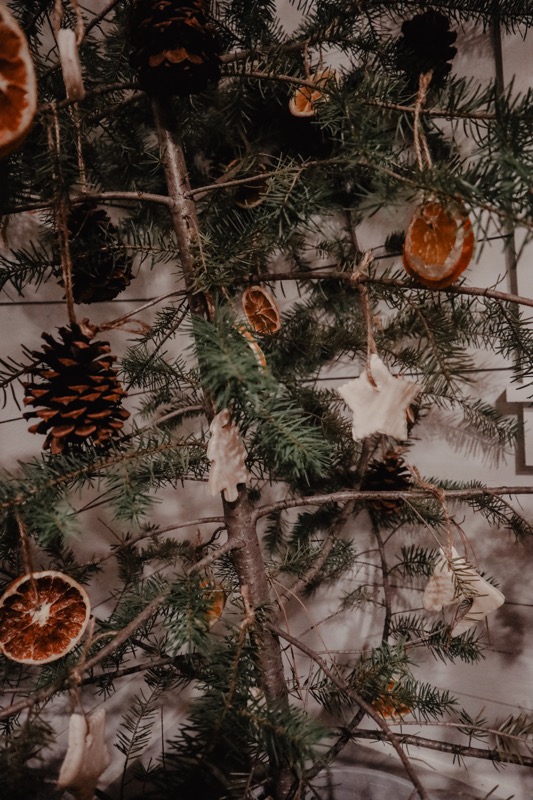
They aren’t too loud, they just hang out (yes pun intended) and have a minimal simple beauty. They complement the other homemade ornaments (like dried orange slices) really well.
I just love how our natural Christmas tree looks with all these handmade ornaments!

And these diffuser ornaments are such a fun project to do with the kids, and they’ll look fabulous on the tree!
What’s not to love? They are cute, simple, cheap, and they diffuse essential oils! So not only are they beautiful, but they give off aromatherapy benefits at the same time.
How cool is that?
These would also make great gifts for your kids to give other family members or friends!
Watch this on YouTube!
DIY Essential Oil Diffuser Christmas Ornaments
- 3/4 cup water
- 1 cup baking soda
- 1/2 cup arrowroot powder
- Essential oils
Step one: measure out all the ingredients into a pot and turn on medium heat.
Step two: Make sure you keep stirring it so that it doesn’t burn. Just keep on doin that until it thickens and forms into a ball.
Step three: Set it aside in a bowl to cool. I like to cover it with a cold damp towel to keep it moist and cool it faster.
Step four: Preheat the oven to 175 degrees F.
Step five: Roll it out into about 1/2″ thickness. You can use more arrowroot powder to prevent it from sticking while you do this.
Step six: Use a cookie cutter to cut the dough into shapes. If you don’t have a cookie cutter you can also just carefully use a knife (it’s just quite a bit harder, and unless you’re super skilled, it might not look as good).
Listen to this on your favorite podcast app!

Step seven: Place on a cookie sheet and put in the preheated oven for about an hour.
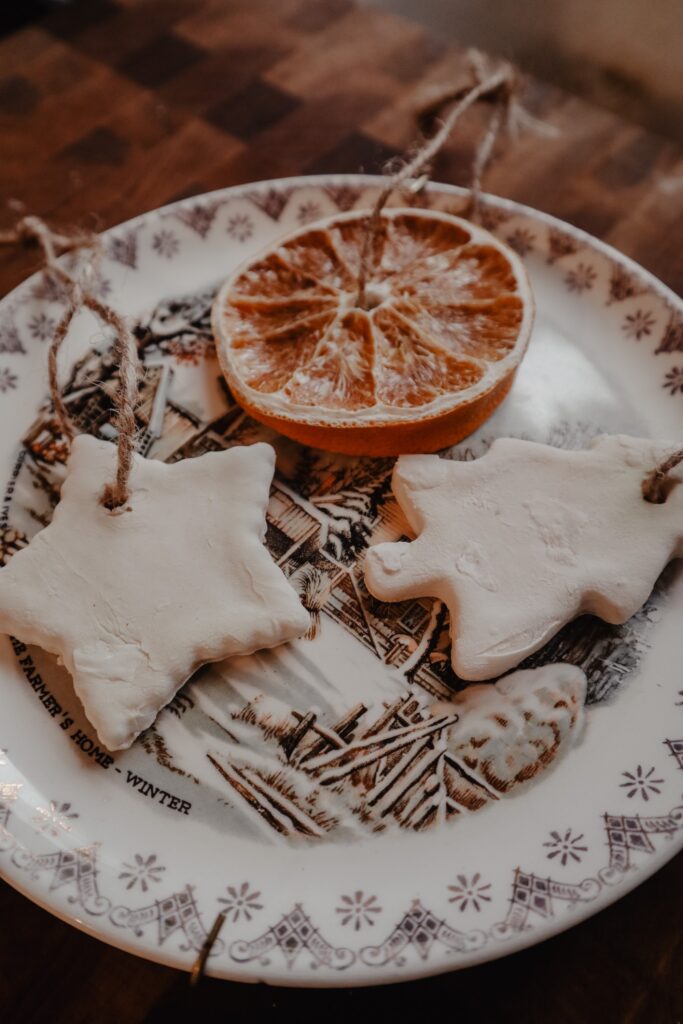
Step eight: Allow them to cool and then sprinkle them with essential oils! (see essential oil combinations below).
How to hang the Ornaments
Method one: Poke a small hole in the top with a pencil, a nail, an awl, whatever ya got, and put a little string through the hole.
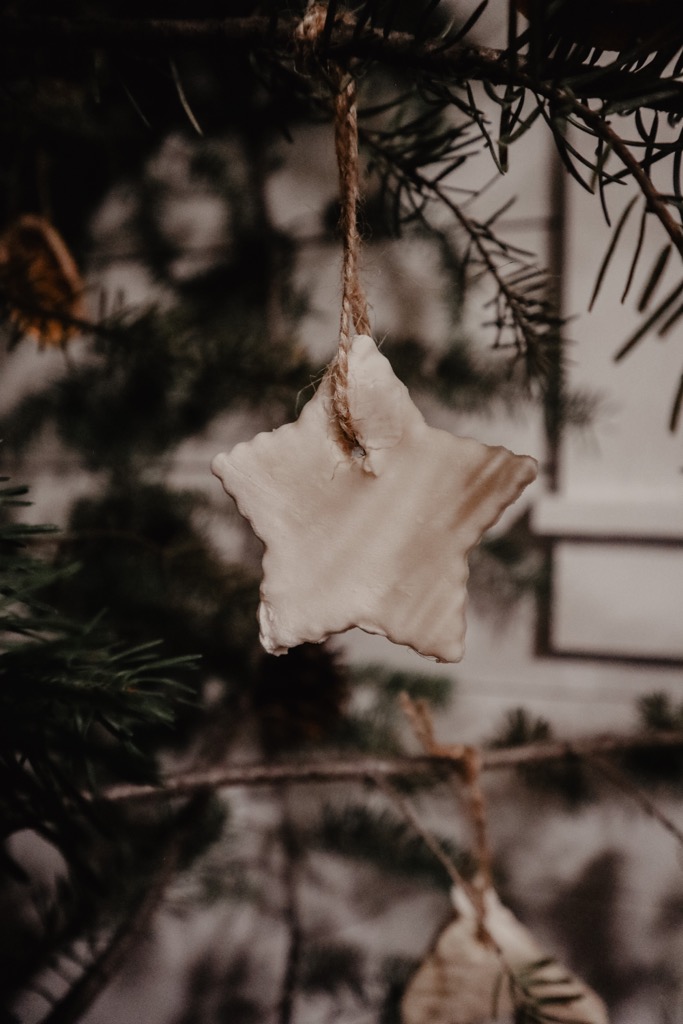


Method two: If poking a hole seems scary, you can also use this second method! This is mainly for if you’ve cut the dough into star-shaped ornaments. But you can wrap some string around them in an X shape. Secure in the back and then tie a small loop at the top, to hang on the tree.
I personally love using jute twine for either method. It adds a nice rustic touch to the ornaments.
Essential oil combinations
Christmas tree
- 5 drops sandalwood
- 4 drops cypress
- 3 drops eucalyptus
- 2 drops cedarwood
Holiday Candy
- 4 drops wild orange
- 4 drops peppermint
- 2 drops ginger
- 2 drops grapefruit
Merry and bright
- 5 drops wild orange
- 3 drops clove
- 2 drops cinnamon
- 2 drops cassia
Cinnamon spice
- 3 drops cinnamon
- 2 drops ginger
- 1 drop wild orange
- 1 drop clove
A white Christmas
- 6 drops douglas fir
- 4 drops cassia
- 3 drops grapefruit
- 3 drops black spruce
And of course, you can use whatever essential oils you’d like. They can be single oils, combinations, whatever. Also, if you are wanting to do a blend but you’re missing one of the oils, it’ll still smell good without it. These blends can be modified to your liking and convenience.
How much essential oil?
Add 12-15 drops of essential oil to each diffuser ornament. I apply the essential oils while the ornament is laying flat.

You can rub it in slightly or let it stay laying flat until the oils are absorbed into it before hanging it on the tree. I generally just let them absorb by themselves.
So that all the essential oil goodness stays on the ornament and not my hand.
Not that that’d be a bad thing, I just want the ornament to smell strong!
We like strong essential oil scents around these parts!
The amount of drops you add is really up to your preference. If you have a large living space, you can add more oils to make the scent stronger. Or vice versa. If you have a small living room like ours, you can add less if you don’t want it to be strong. You can always add more later on 😉
Making them fancy
Well yes, of course you can decorate the ornaments!
Normally I don’t, because I love the simple minimal look.
But you can have a lot of fun with this! And this will be really fun for the kids!
You can paint them, add glitter, use stamps, you can write Merry Christmas or the names of the person they are for!

How long will these ornaments last?
These are definitely more delicate ornaments, but if you care for them well they should last through several seasons!
I like to wrap them carefully in tissue paper and store them in a zip-lock bag (so that it’s airtight), and then in a cardboard box (so that they don’t get crushed if I accidentally set something on it).
Yes, lots of layers of protection.
Layers are good.
Basically the more the better.
Just kidding 😉
All you need to keep in mind, is to store it in a cool dry place, and to not smash it. Simple.
I’d just add more essential oils each year because they will fade.
And blessings.
Pin it for later!
Print the recipe for later!

DIY Essential Oil Diffuser Ornaments
Materials
- 3/4 cup water
- 1 cup baking soda
- 1/2 cup arrowroot powder or cornstarch
Instructions
- Heat the water, baking soda and corn starch in a pot over medium heat.
- Keep stirring it while on the burner until it forms into a ball.
- Set it in a bowl to cool and lay a cold damp towel over the bowl.
- Roll it out into about 1/2" thickness.
- Use a cookie cutter or knife to cut the dough into shapes.
- Bake at 175 degrees for about an hour.
- Allow them to cool, and then sprinkle them with essential oils.
Hanging them
- Method one: Poke a small hole in the top with a pencil, a nail, an awl, whatever ya got, and put a little string through the hole.
- Method two: If poking a hole seems scary, you can also use this second method! This is mainly for if you've cut the dough into star-shaped ornaments. But you can wrap some string around them in an X shape. Secure in the back and then tie a small loop at the top, to hang on the tree.
[…] post with printable recipe card https://wilsonhomestead.com/diy-essential-oil-diffuser-christmas-ornaments/ Podcast version … […]